Managing Contacts
Once you've located a contact, you can manage the contact card in the following ways:
Adding contacts
Just type the name of a new contact and hit return to add it. Type as much information into Cardhop as you wish, such as email-address, phone number etc, and Cardhop will parse the text and add it to the new contact automatically.
You can tap the contact name to manually edit additional details before hitting the Save button in the upper-right.
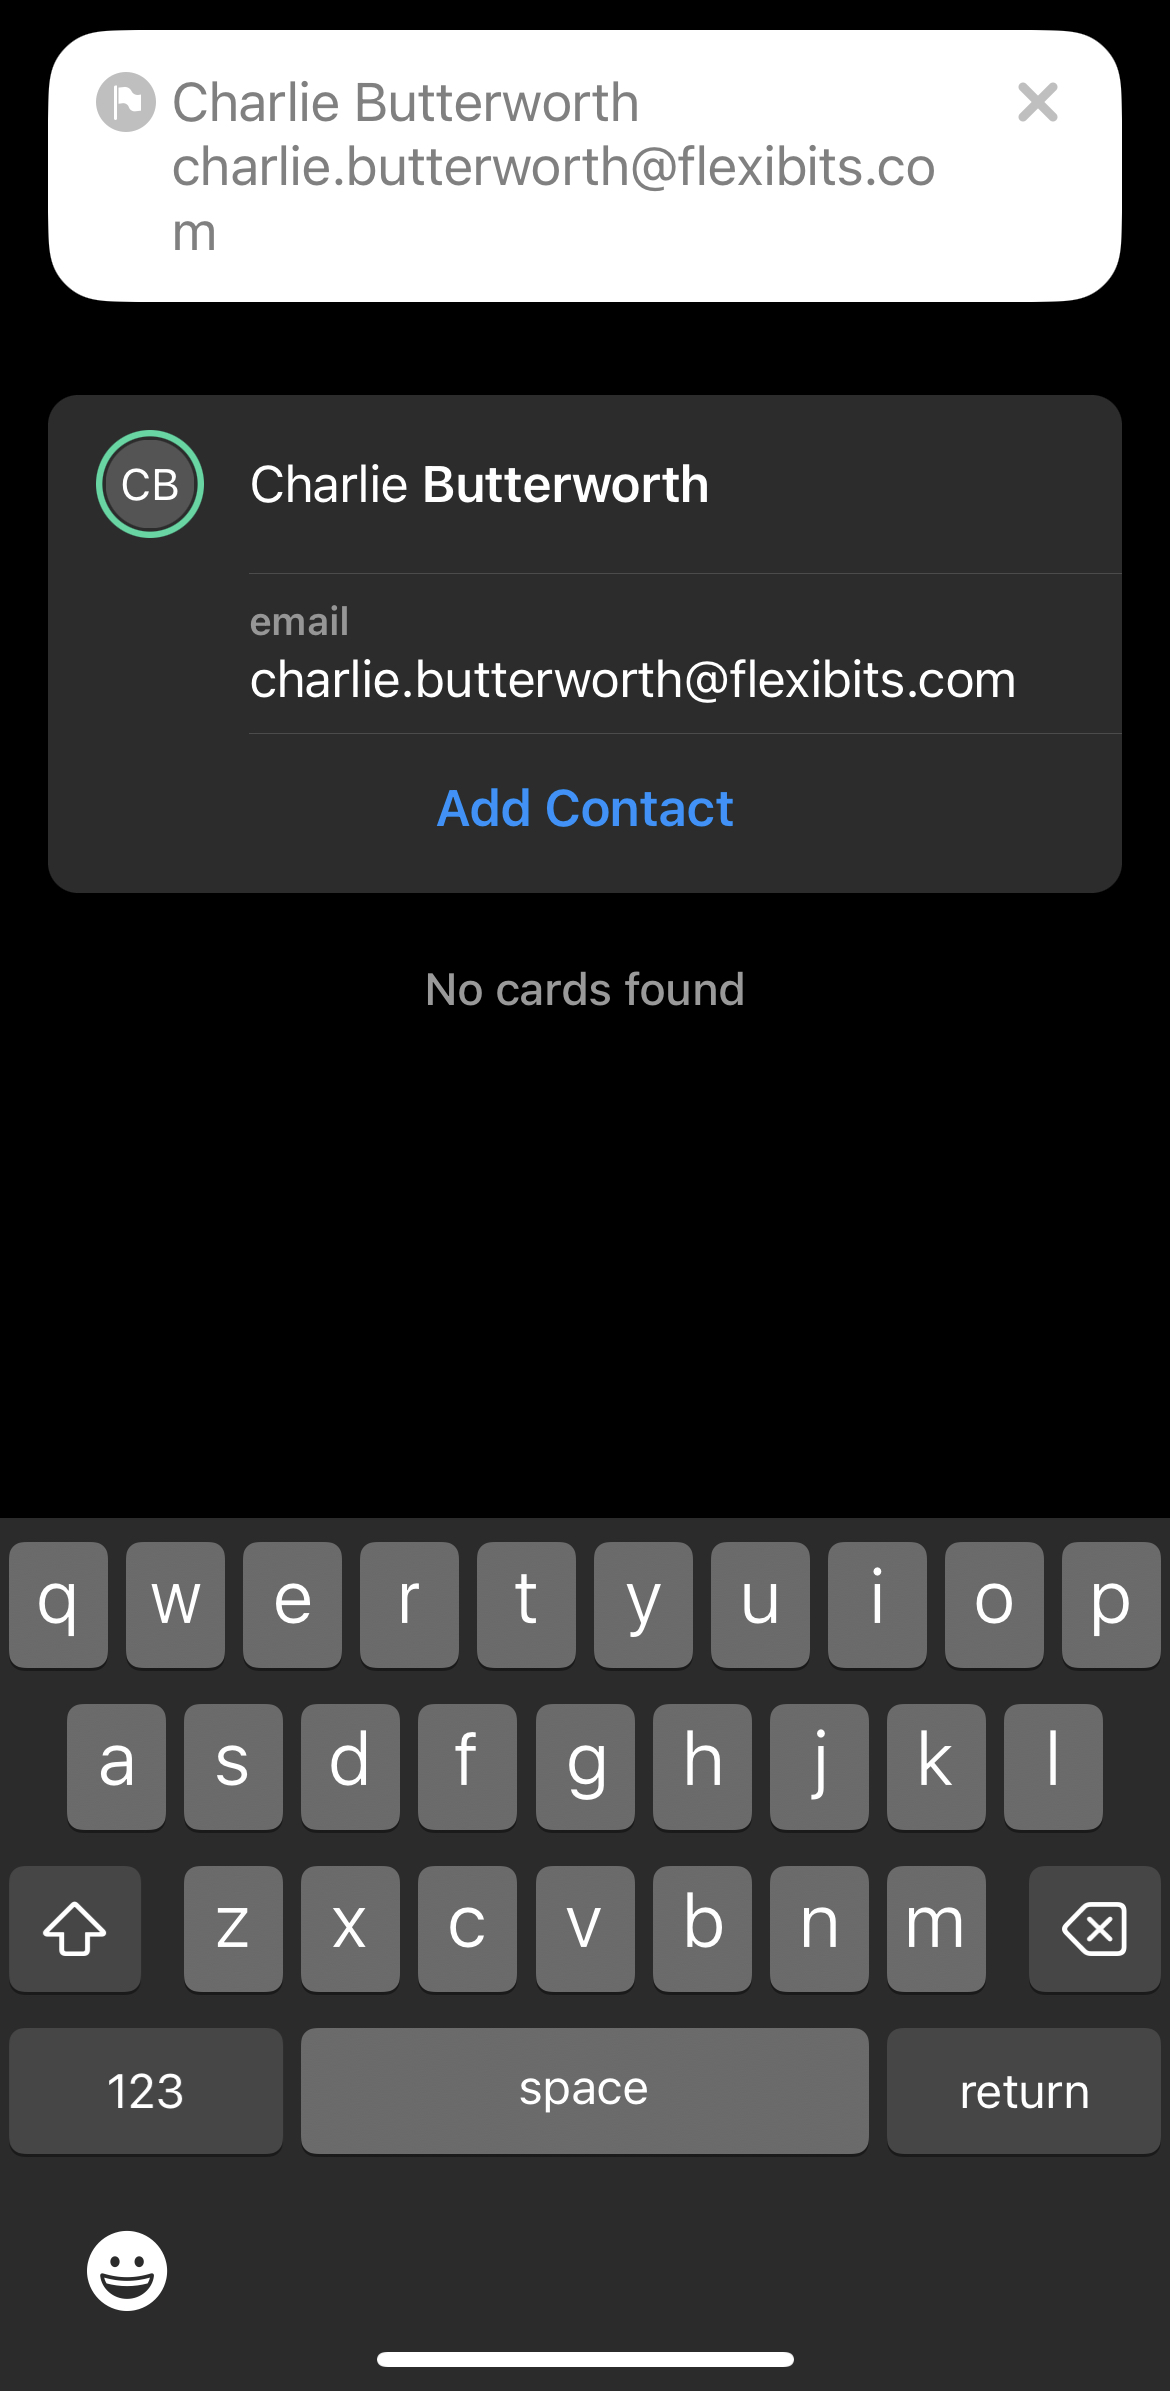
If you want to add a contact without using Cardhop's natural language parsing, tap the + icon in the top-right of the main contacts view.
Editing contacts
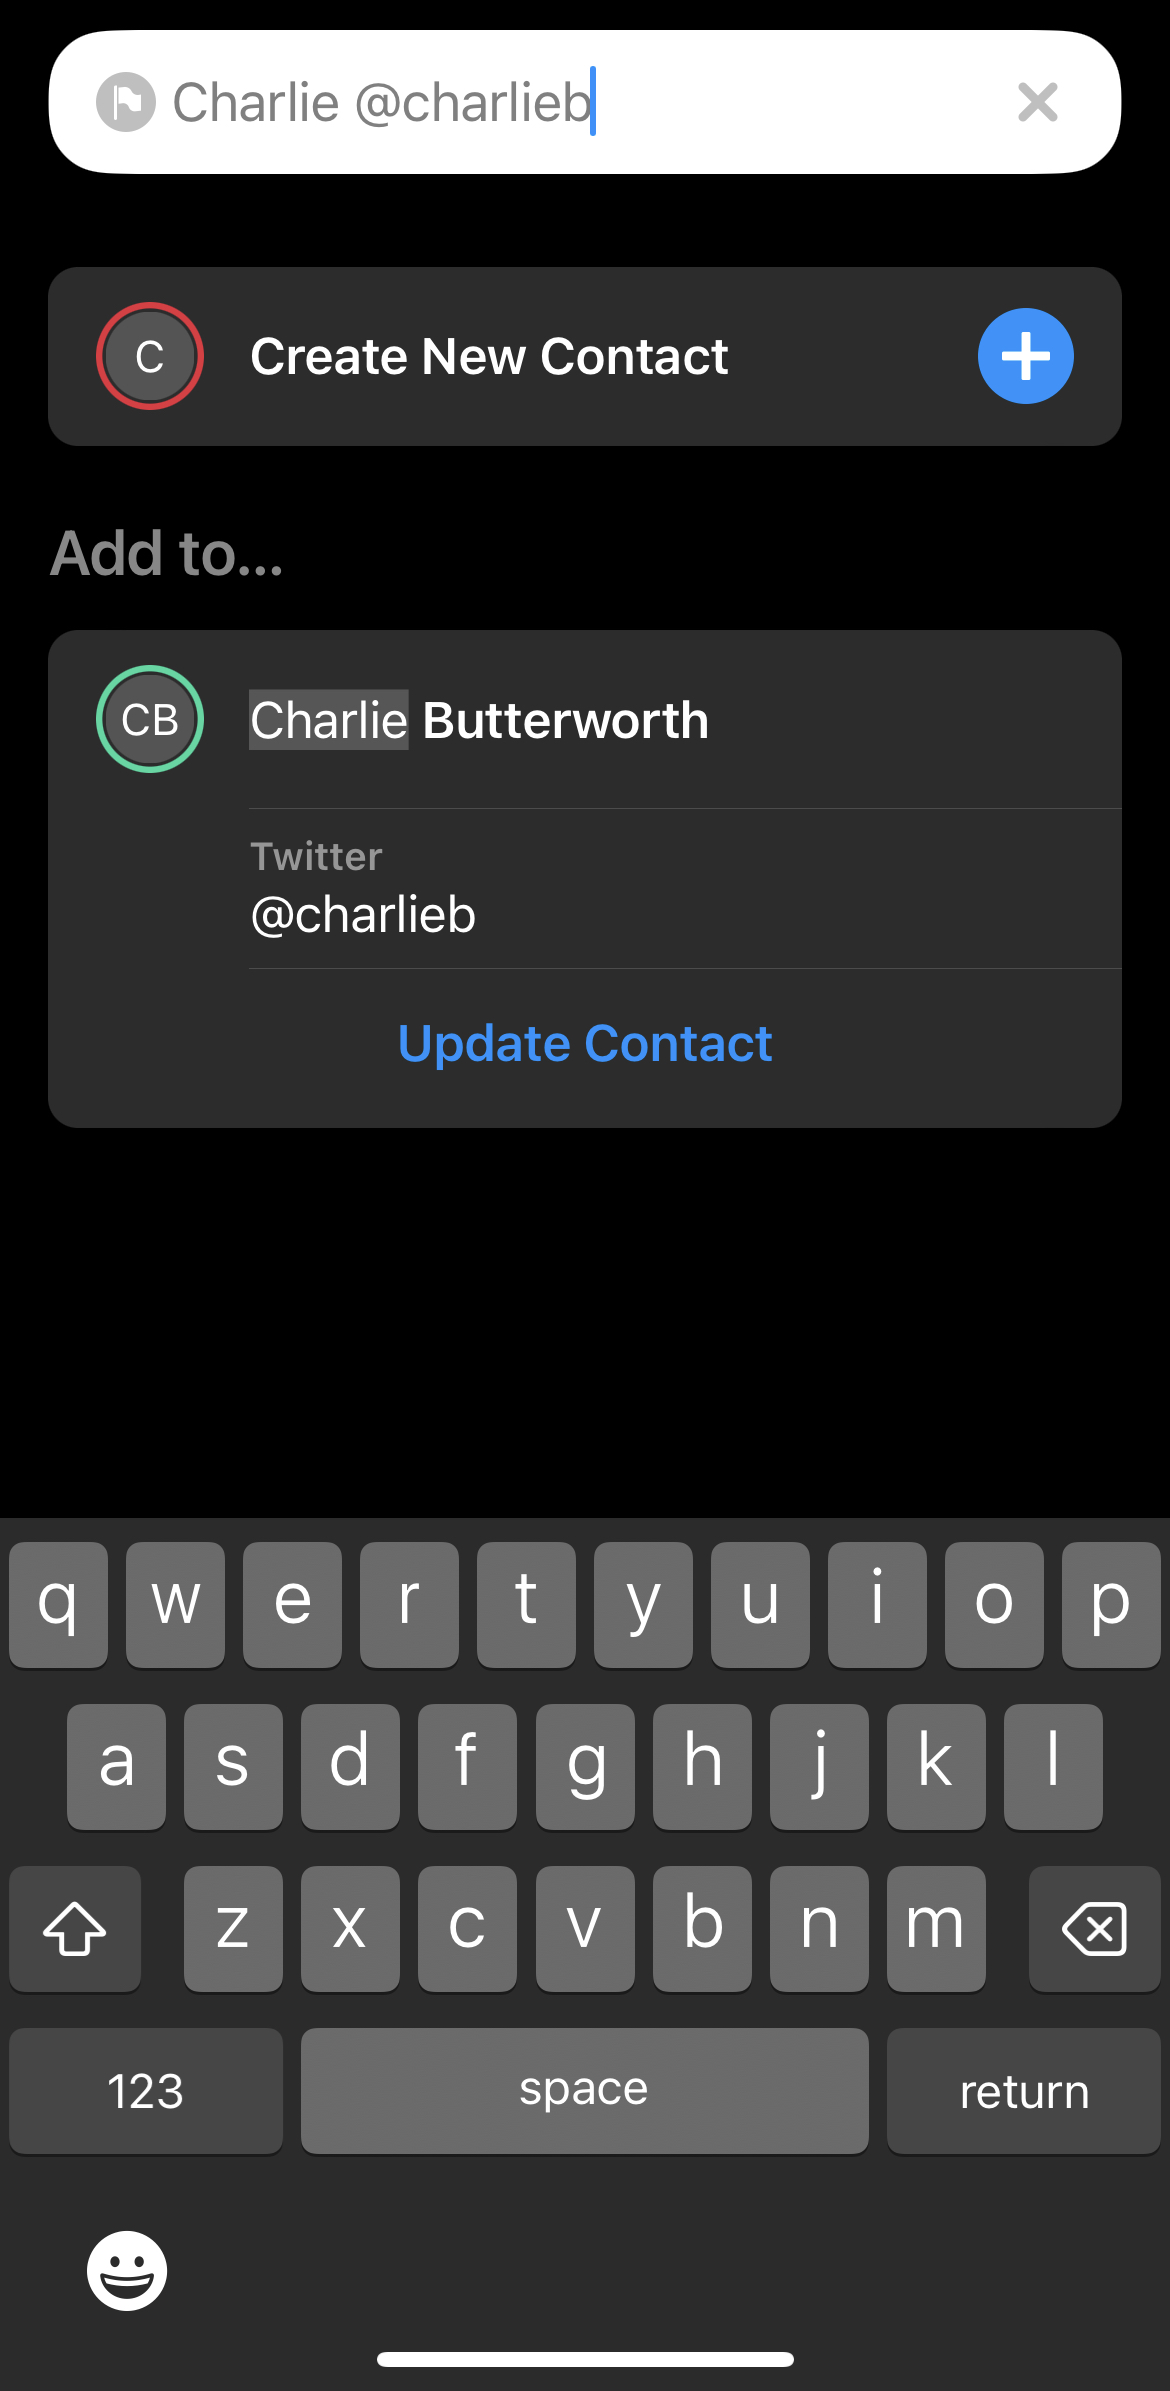
To add additional information to an existing contact just type the contact's name into the search bar, followed by the new information you want to add. Cardhop will parse the new information and you can tap Update Contact to add the new information to the contact.
Alternatively, tap a contact name to see the contact's details. From here, tap Edit in the upper-right to manually edit the contact details, or move the contact to another account or list.
If you have the same contact name on different accounts Cardhop will merge the data from both accounts and display it as a single card. You can check the data that belongs to each account by tapping the account name under the Linked Contacts section at the bottom of the contact card.
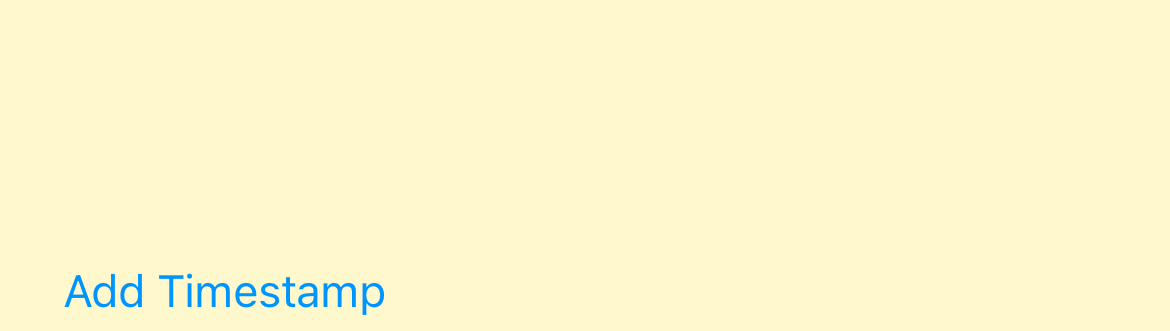
Add notes with timestamps
At the bottom of the contact card is a notes section, allowing you to add any further detail about this contact that you feel is important.
You can easily add a timestamp to the Notes field by tapping the Add Timestamp button. It’s an effective way to keep a log of interactions and other information that doesn’t fit in other contact fields.