
Openings
The Openings section of your Flexibits Account allows you to create new meeting templates to share your availability with others, edit existing meeting templates, customize the meeting link you send to others, and disable openings completely.
You first need to enable Openings in Fantastical and choose a calendar set for Openings to use when scheduling your free time. Please see the Fantastical help book for details.
Meeting templates
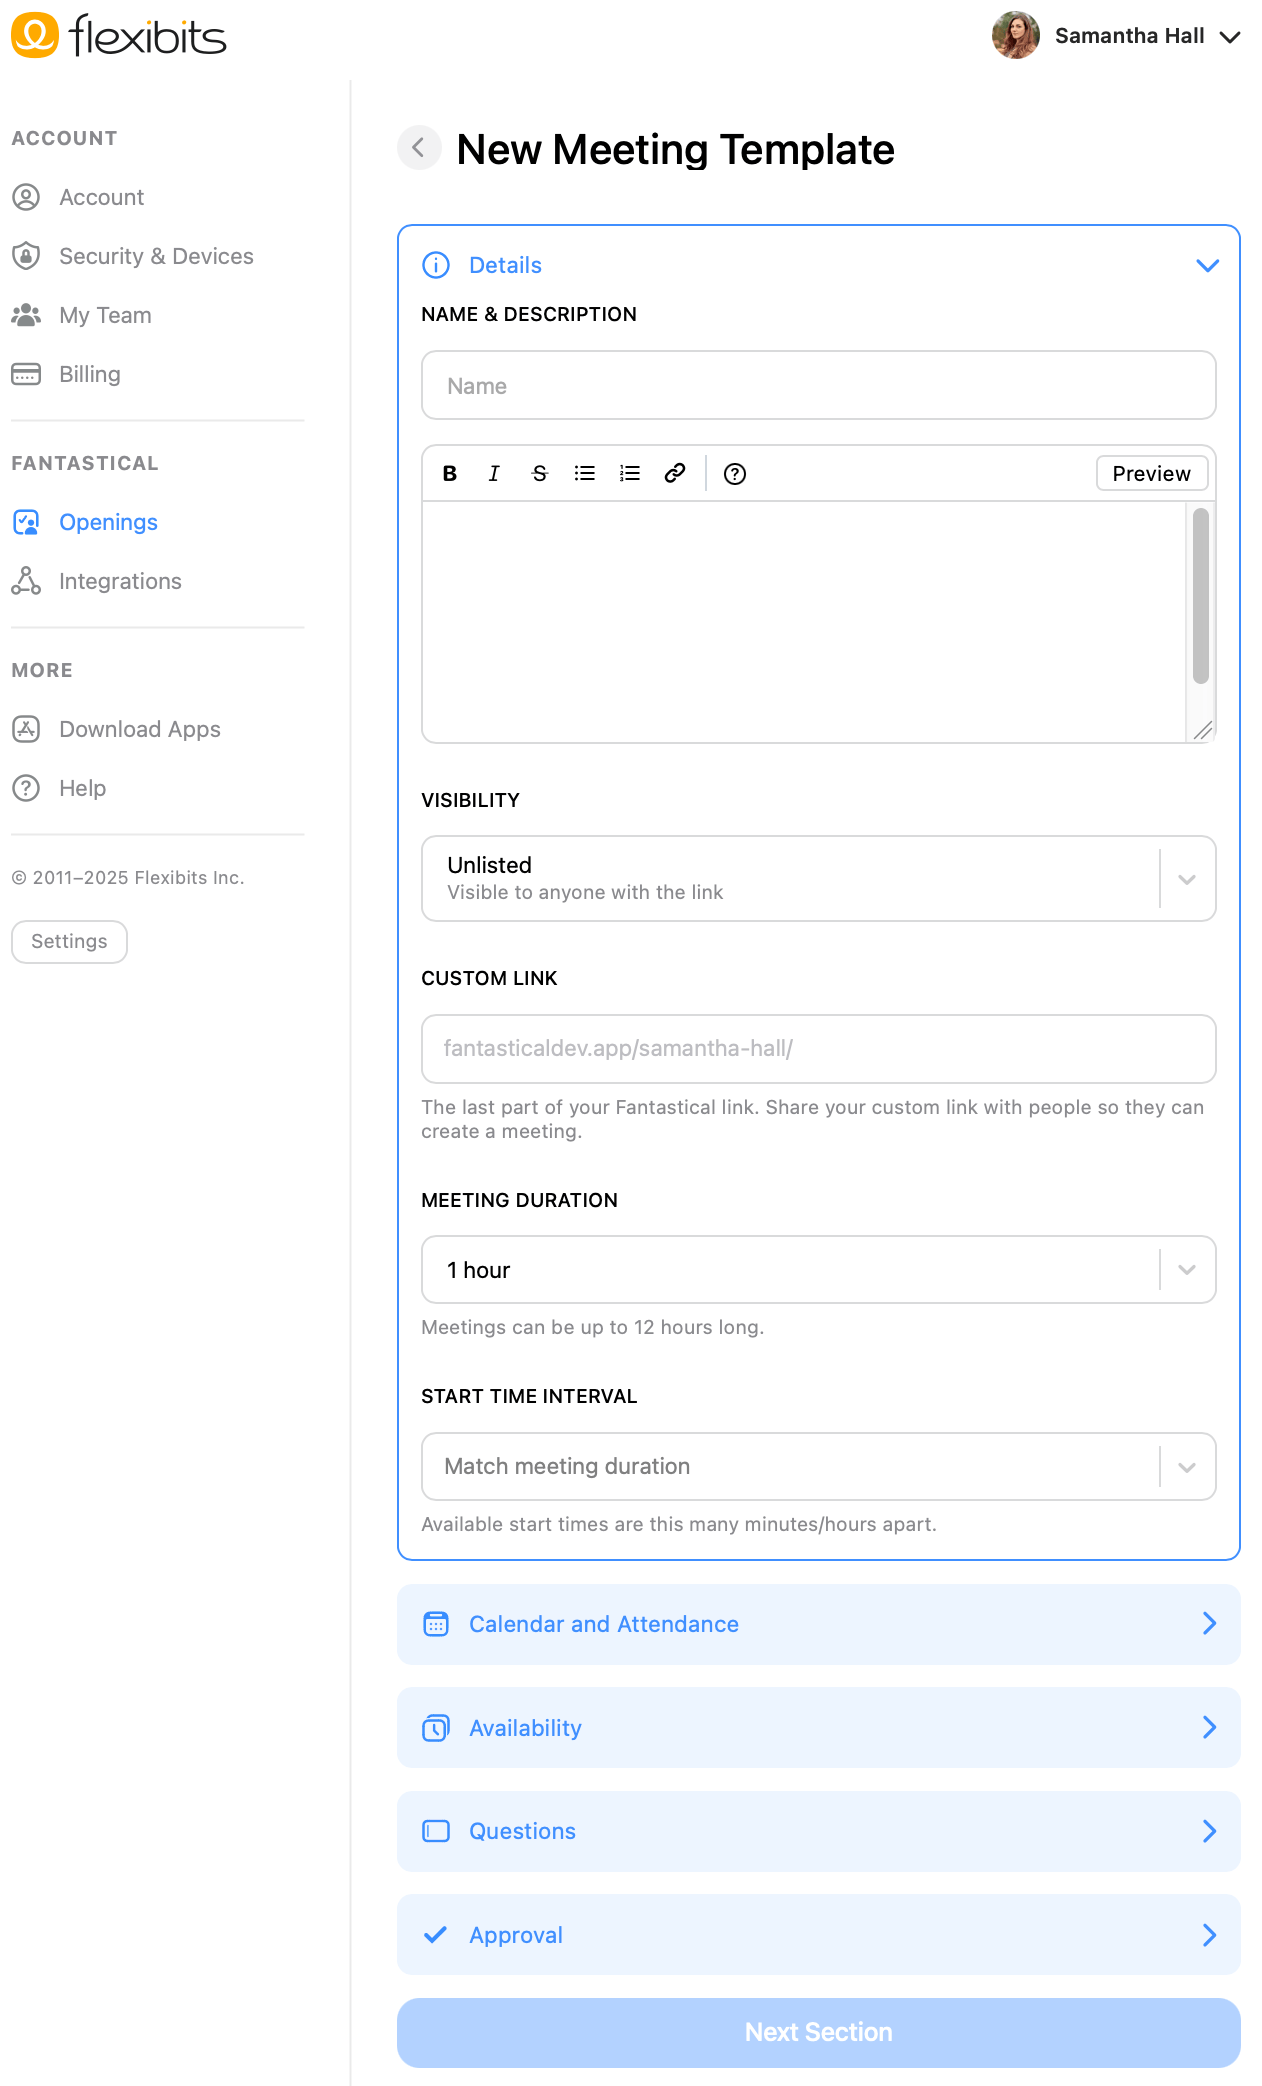
To create a new meeting template, select the New Meeting Template button and enter the template's details. You can create multiple templates that can be used for different scenarios in your life.
-
Title: Enter the title of the meeting template. This will be visible to your invitees when they view your available slots.
-
Description: Enter a description for the template. This will be visible to your invitees when they view your available slots.
-
Visibility: Choose if you want your link Off (not visible to anyone), Unlisted (visible to anyone with the link), or Public (visible on your public user page).
-
Custom Link Name: Customize the last part of the link name that you will be sharing. This uses the name of the template by default, but can be edited.
-
Meeting Duration: Set the duration of your meeting (each meeting can be up to 12 hours long). Multiple durations can be added per template by clicking the + to the right of the duration.
-
Start Time Interval: Choose the start interval for your meetings. The start interval can match the meeting duration, or you can change it to offer more meeting options during the day.
Calendar and Attendance section
-
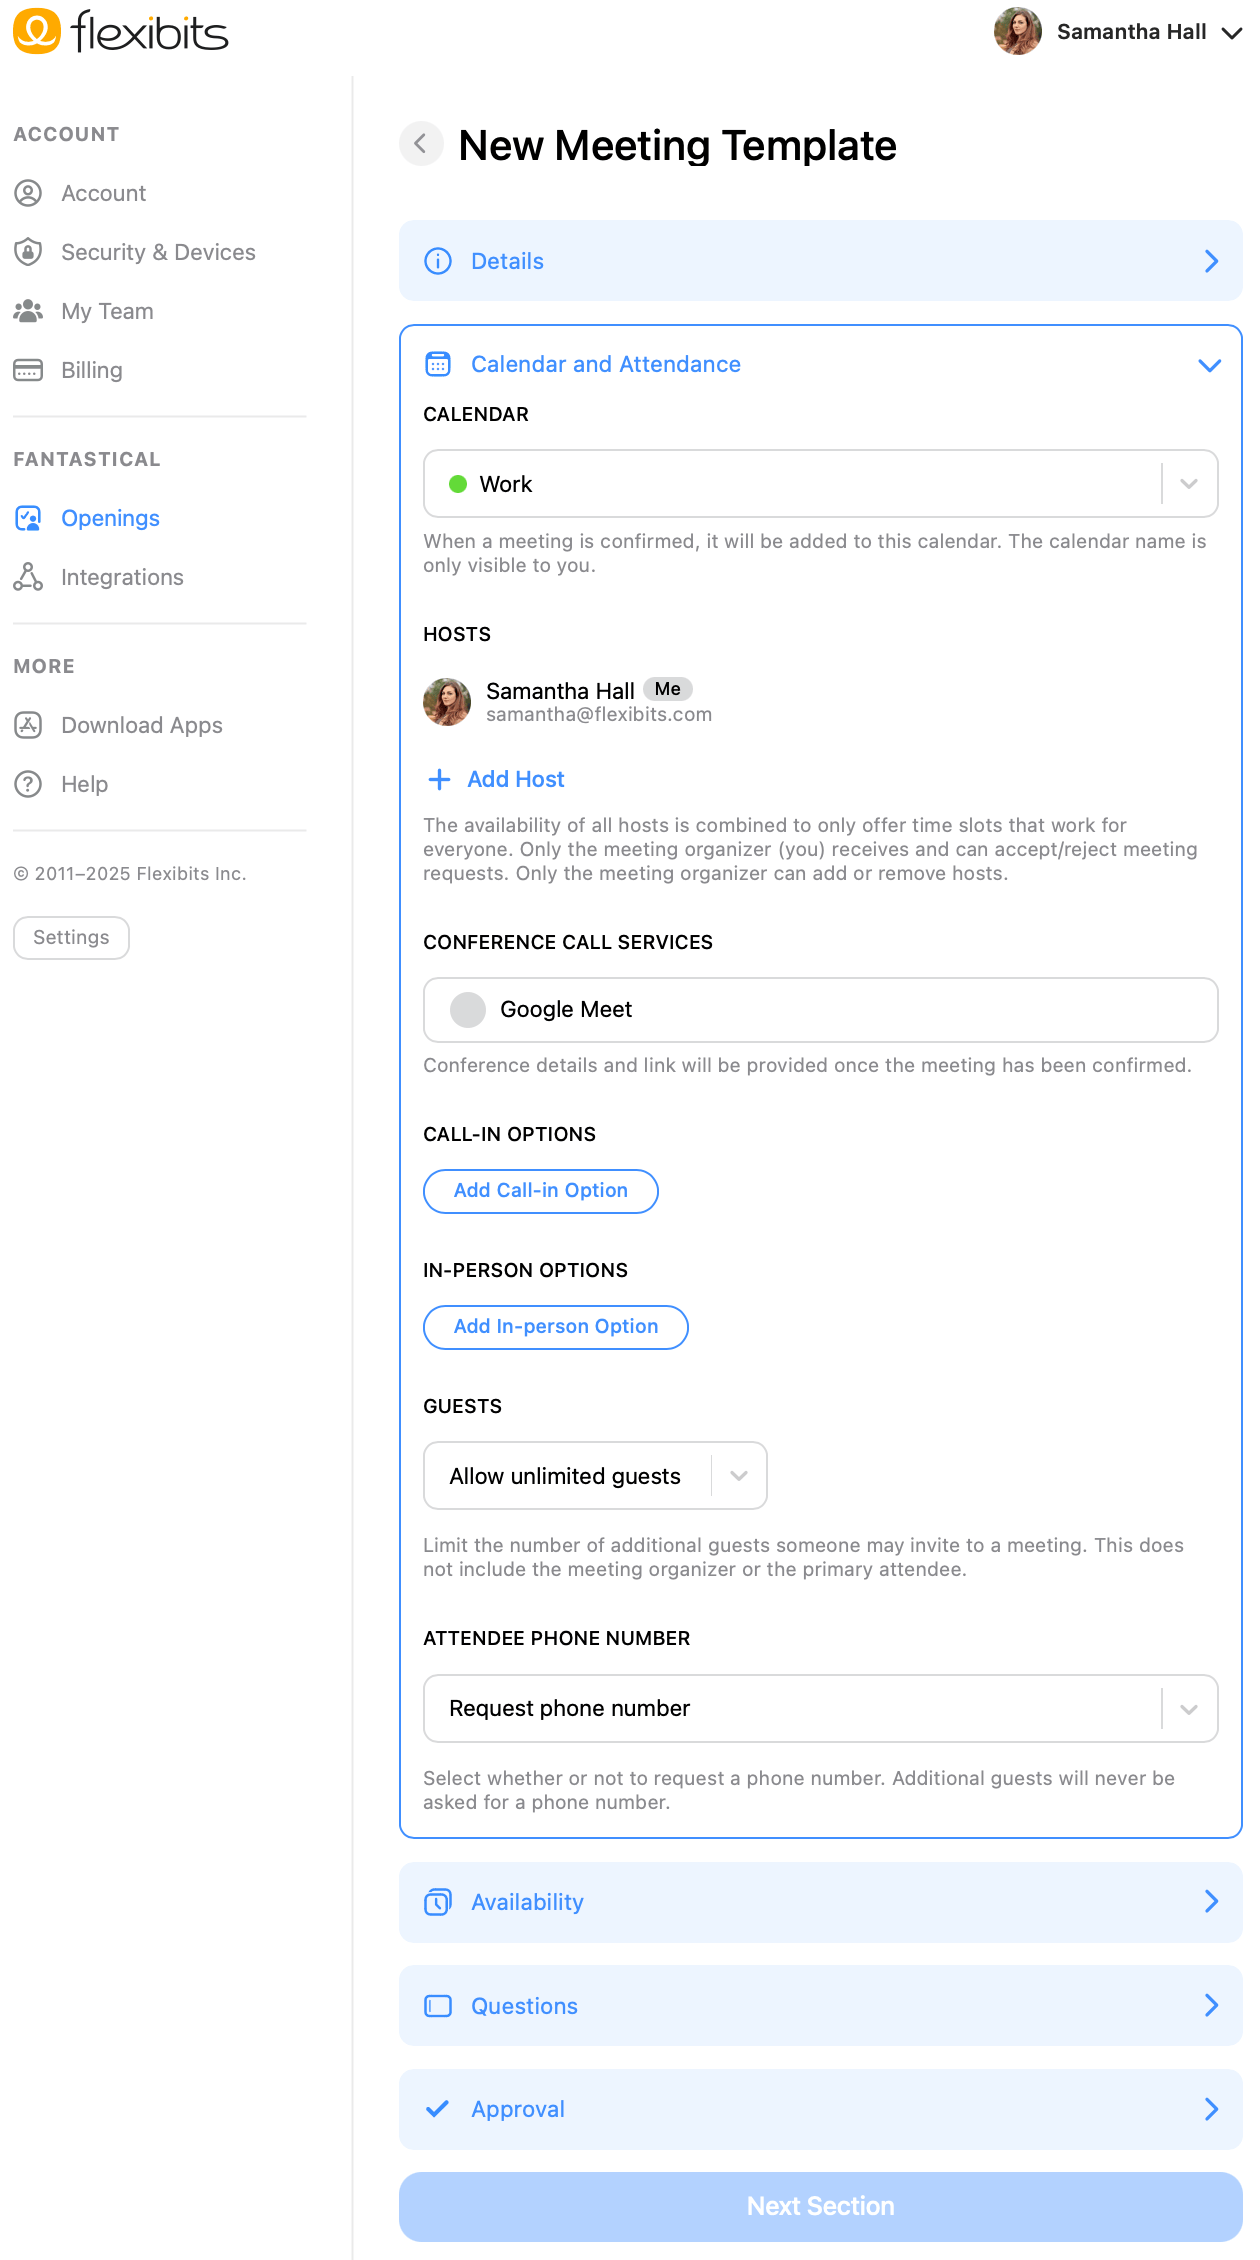
Calendar: Choose the calendar that you want the meetings to be added to once they are confirmed. If you choose a calendar that is not in the calendar set you picked in Settings > Openings, then this calendar will not be used to check your availability and can result in a slot being double-booked.
-
Hosts: Only available with a Teams subscription. Allows you to add a host to your meeting template. The availability of all hosts is combined to only offer time slots that work for everyone. Only the meeting organizer (you) can manage the meeting request and make changes to hosts.
-
Conference Call Services: Add a single conference call type, or multiple types for attendees to choose from, to your Openings link. Conference call types currently supported are Zoom, Webex, Google Meet, and Microsoft Teams. (You need to add a Zoom or Webex account to Fantastical for these options to appear, and Google Meet and Microsoft Teams options will only appear if the template's calendar belongs to a Google or Microsoft calendar.)
-
Call-In Options: Provide a phone number that attendees can use for a call in meeting.
-
In-Person Options: Provide an address that attendees can use for an in person meeting.
-
Guests: Limit the number of additional guests an invitee can invite to a meeting. This does not include the meeting organizer or main attendee.
-
Attendee Phone Number: Choose to request a phone number, require a phone number, or to not request a phone number from attendees on your template.
Availability section
-
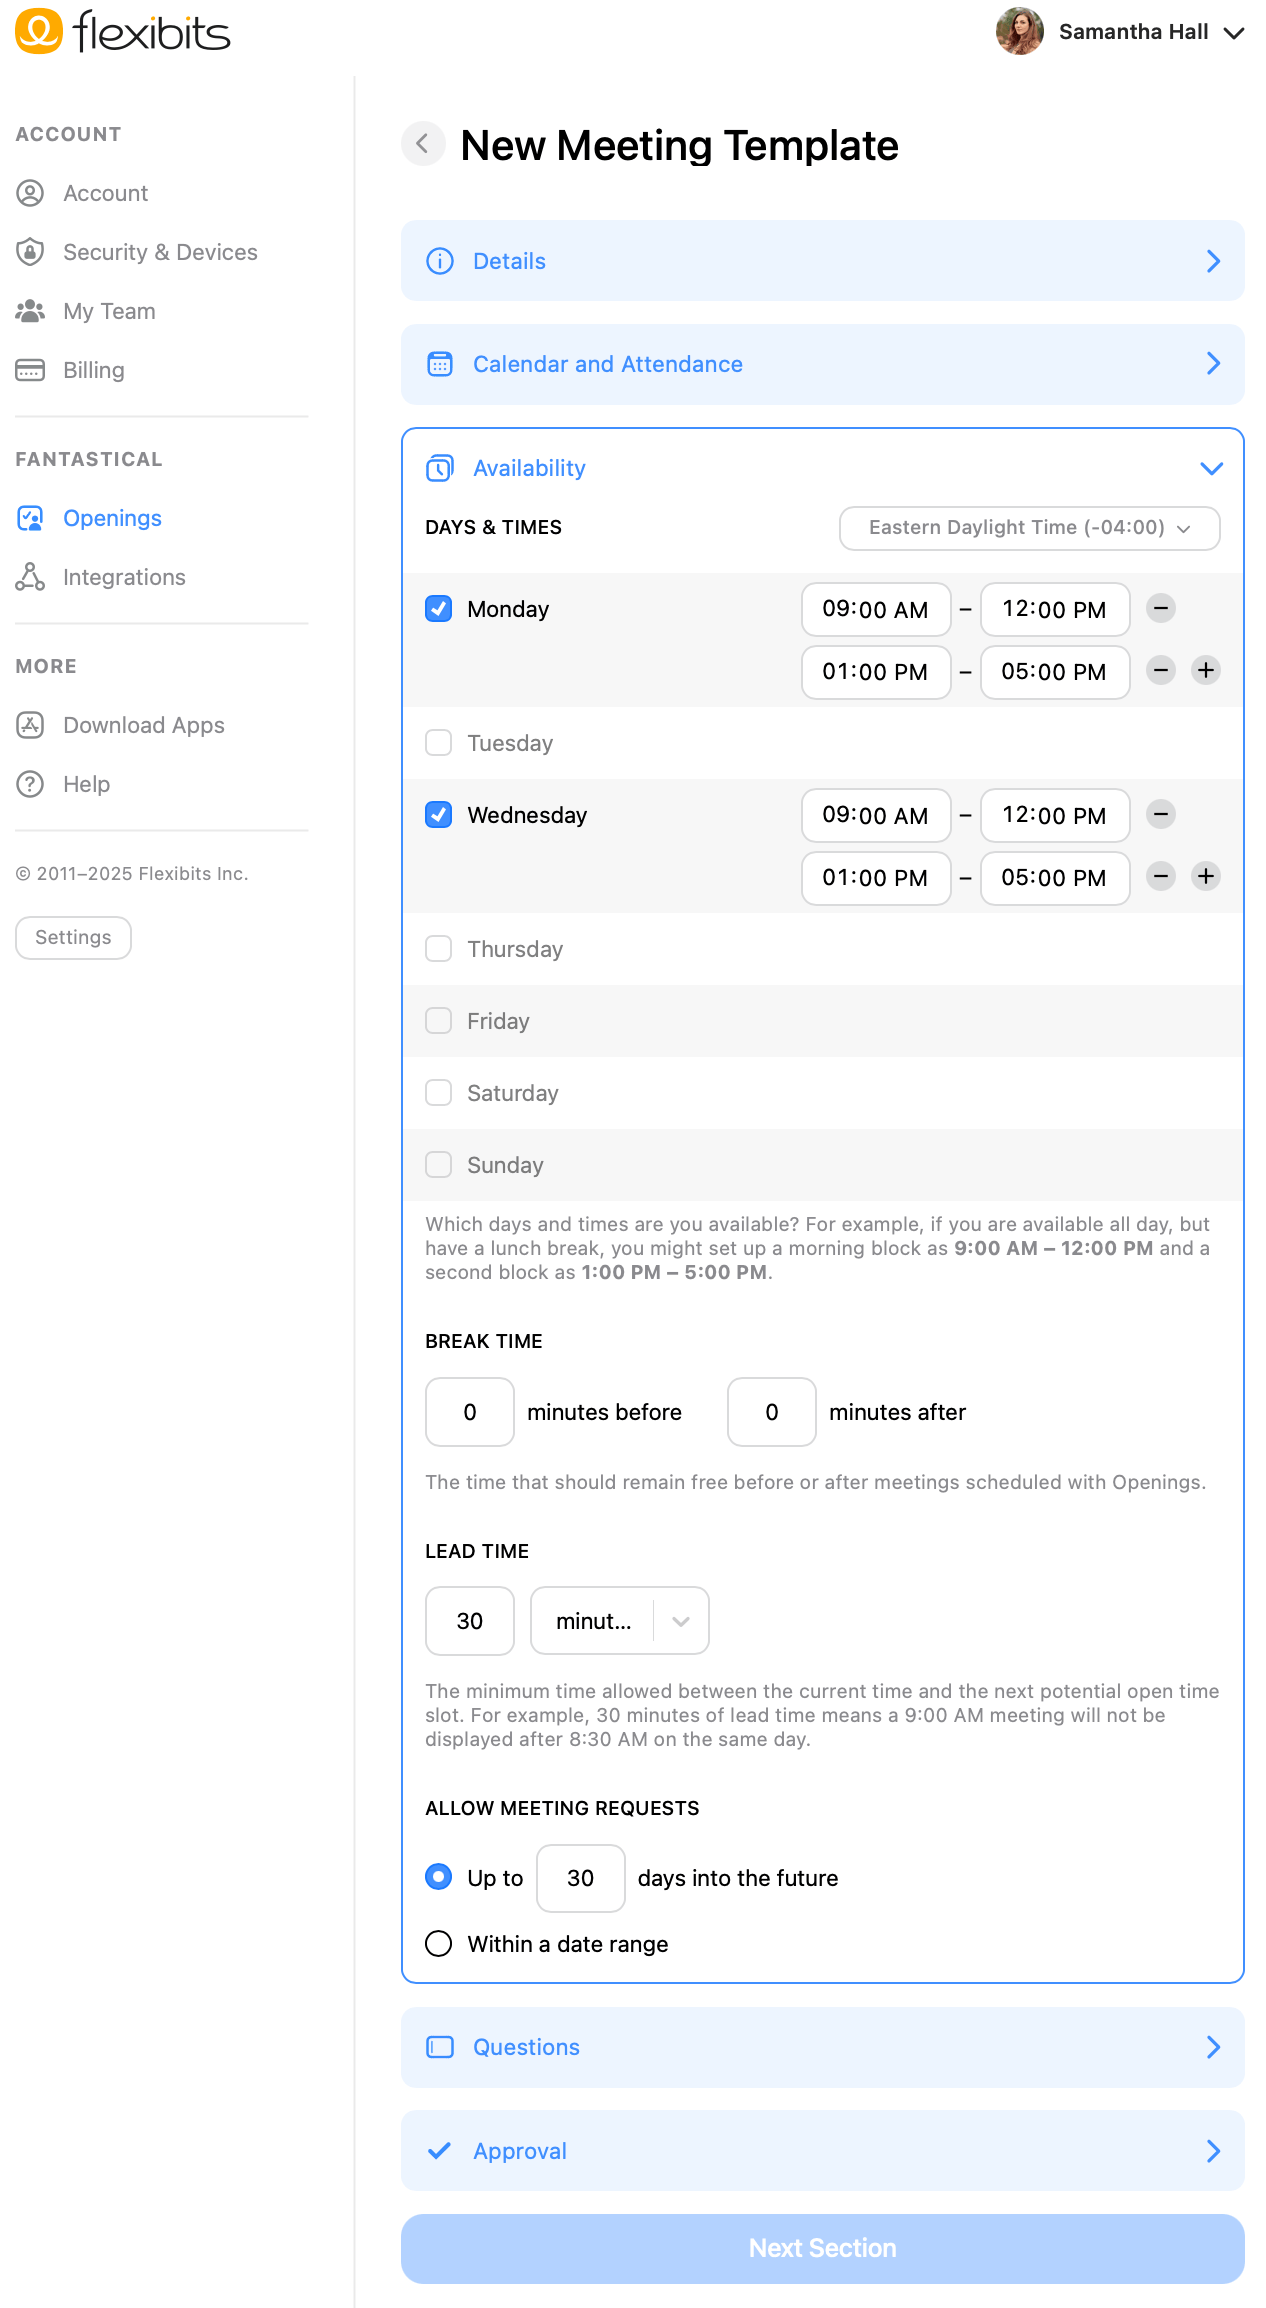
Days & Times: Choose the time zone that you want the meetings to be listed in, then use the checkboxes to select the days you want to offer time slots. When you enable a specific day, you can then edit the time block(s) for that day. For example, if you want to offer three separate blocks of time on Monday, then enable the box for Monday, edit the first time block, and click the + to add new time blocks for that day. You have the option to set up different time blocks for each day that you have enabled in the template. Your Flexibits Account will use the time blocks in your template to check for available time slots in the calendar set you have selected in Settings > Openings, and only the time frames you have unscheduled will appear to others when sharing the template's URL.
-
Break Time: Enforce a minimum amount of time between booked events and adjacent events. You can choose to have this before and/or after your Openings events.
-
Lead Time: Control how soon a meeting can be requested, giving you the time you need to prepare for each meeting.
-
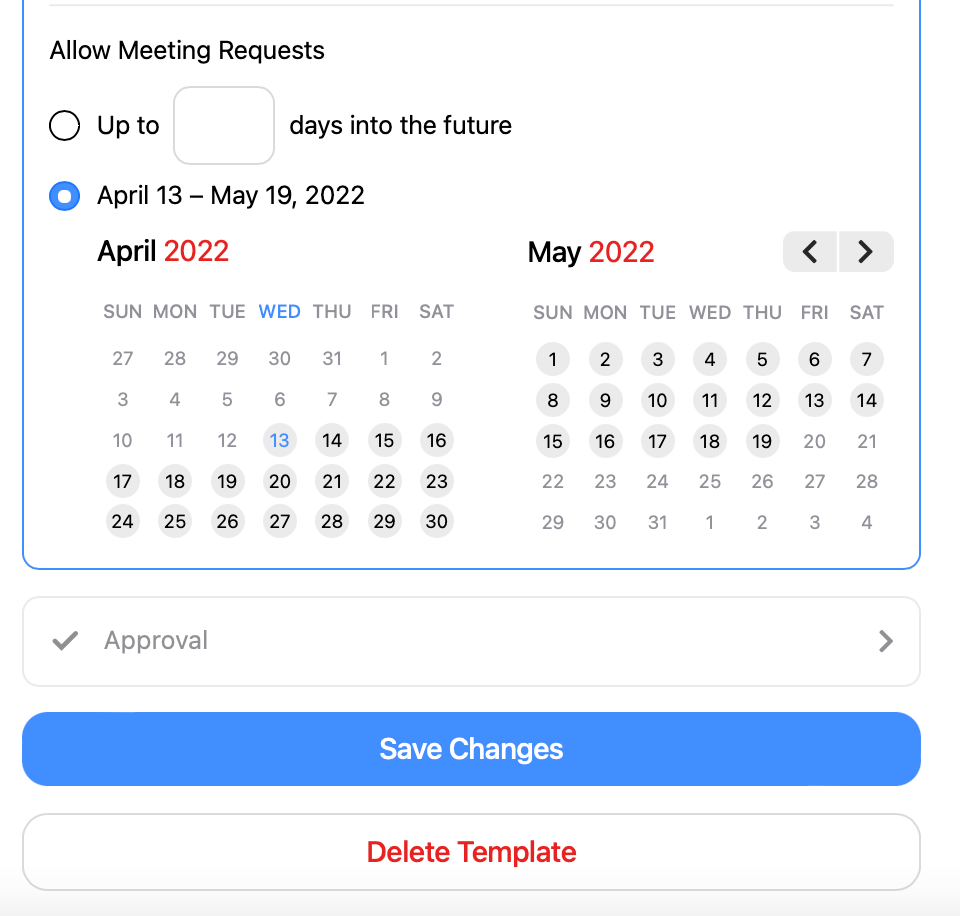
Allow Meeting Requests: Set the limit on when meetings can be scheduled for each template. Choose to allow meetings up to a certain amount of days in the future, or set a specific time frame to display available slots.
Questions section
Add additional questions to your meeting template.
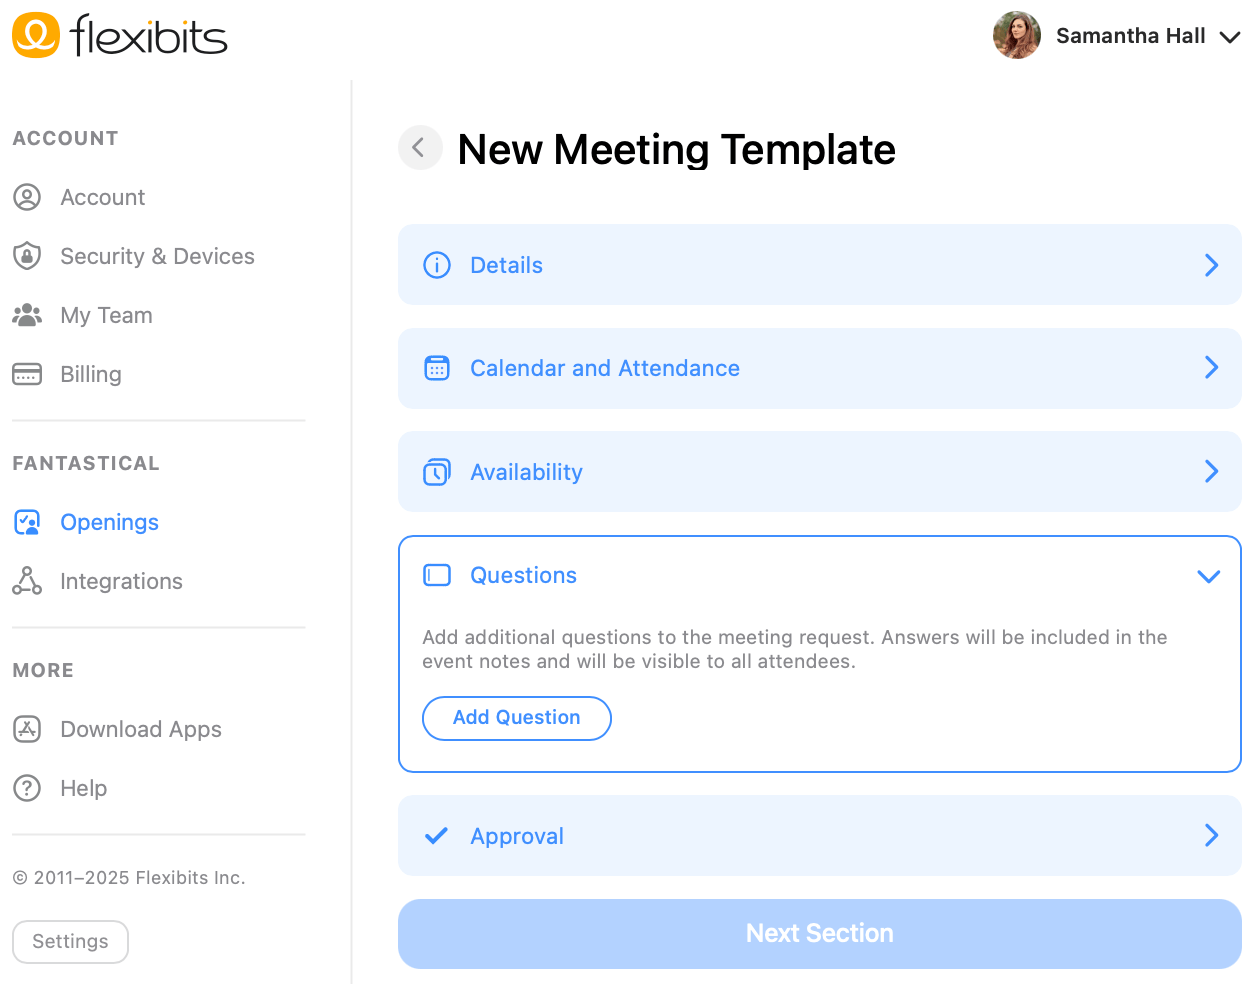
Select Add Question, and enter your question information. You can choose from the following question types:
- Short Answer: Attendees will be able to provide a short answer for the question.
- Paragraph Answer: Attendees will be able to provide a longer answer for the question.
- Checkbox: Attendees will be able to toggle a checkbox to provide an answer.
- Dropdown: Attendees will be able to choose from a dropdown list that you provide.
You also have the option to make the questions required when an attendee is requesting a meeting.
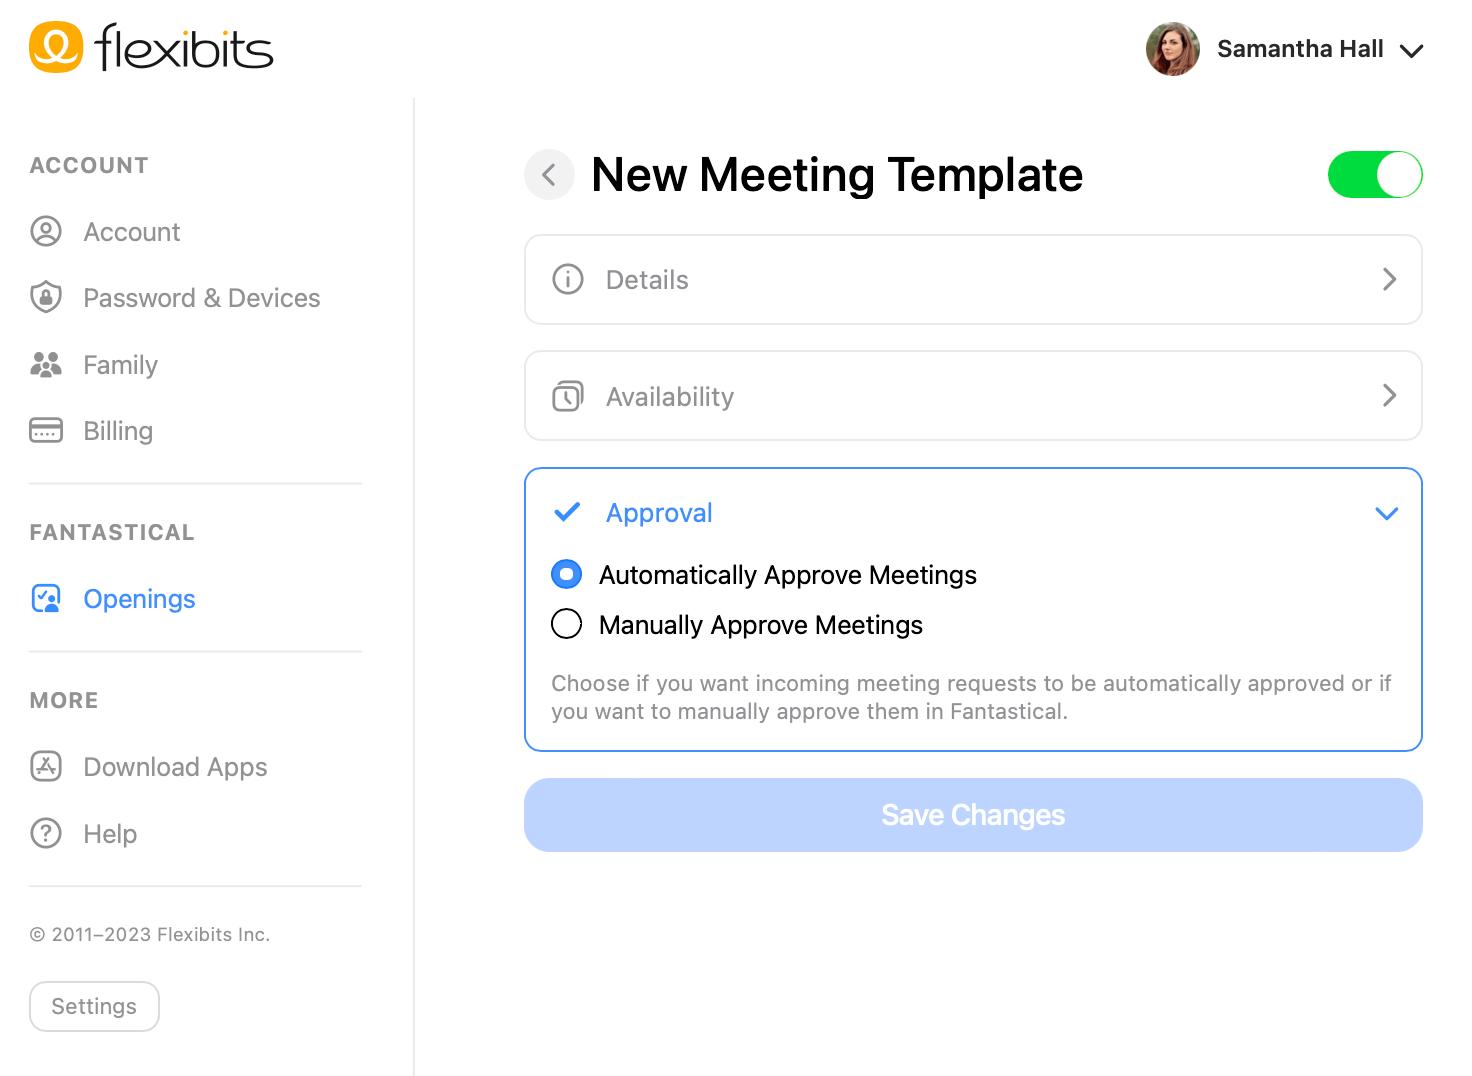
Approval section
Choose whether to have Flexibits automatically approve meetings that fit into your schedule, or to manually review them before approving.
-
Automatically Approve Meetings: Meetings will be automatically approved when a time is selected in the Openings link. It will be added directly to your calendar and your calendar account will send out an invite to the person requesting the time. This is the default setting for meeting templates.
-
Manually Approve Meetings: You will be notified in Fantastical that a meeting has been requested, giving you the opportunity to accept or decline it.
Username
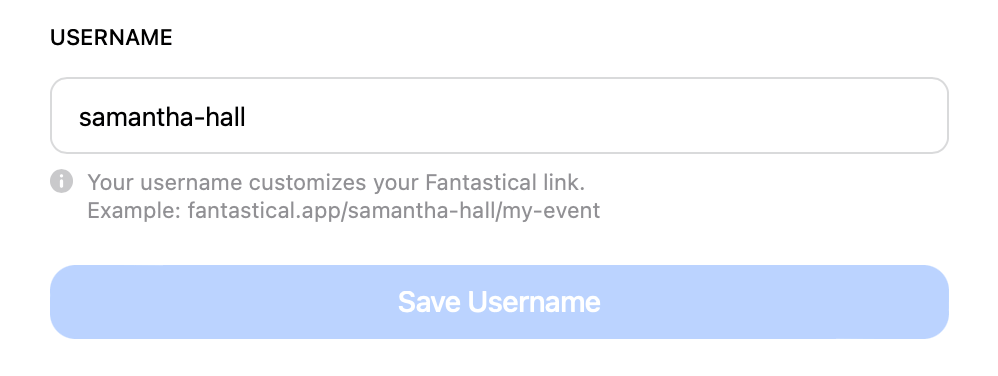
Click in the box to edit the username in the Fantastical link that will be sent to invitees.
Disable Openings
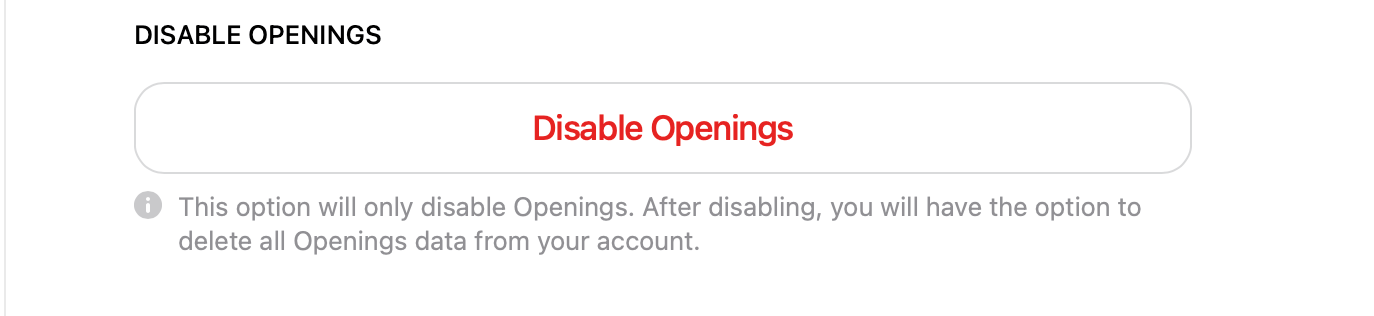
Selecting this option will only disable the Openings feature in Fantastical. After you disable Openings, you will have the option to delete all of the Openings data from your account completely.
Sharing your availability with others.
Each Meeting Template you create will have a unique Fantastical link that you can easily share with a specific invitee or group of invitees.
Once the URL is shared, the recipient can click the link and see all your available slots, allowing them to select a time when your calendar is currently empty.
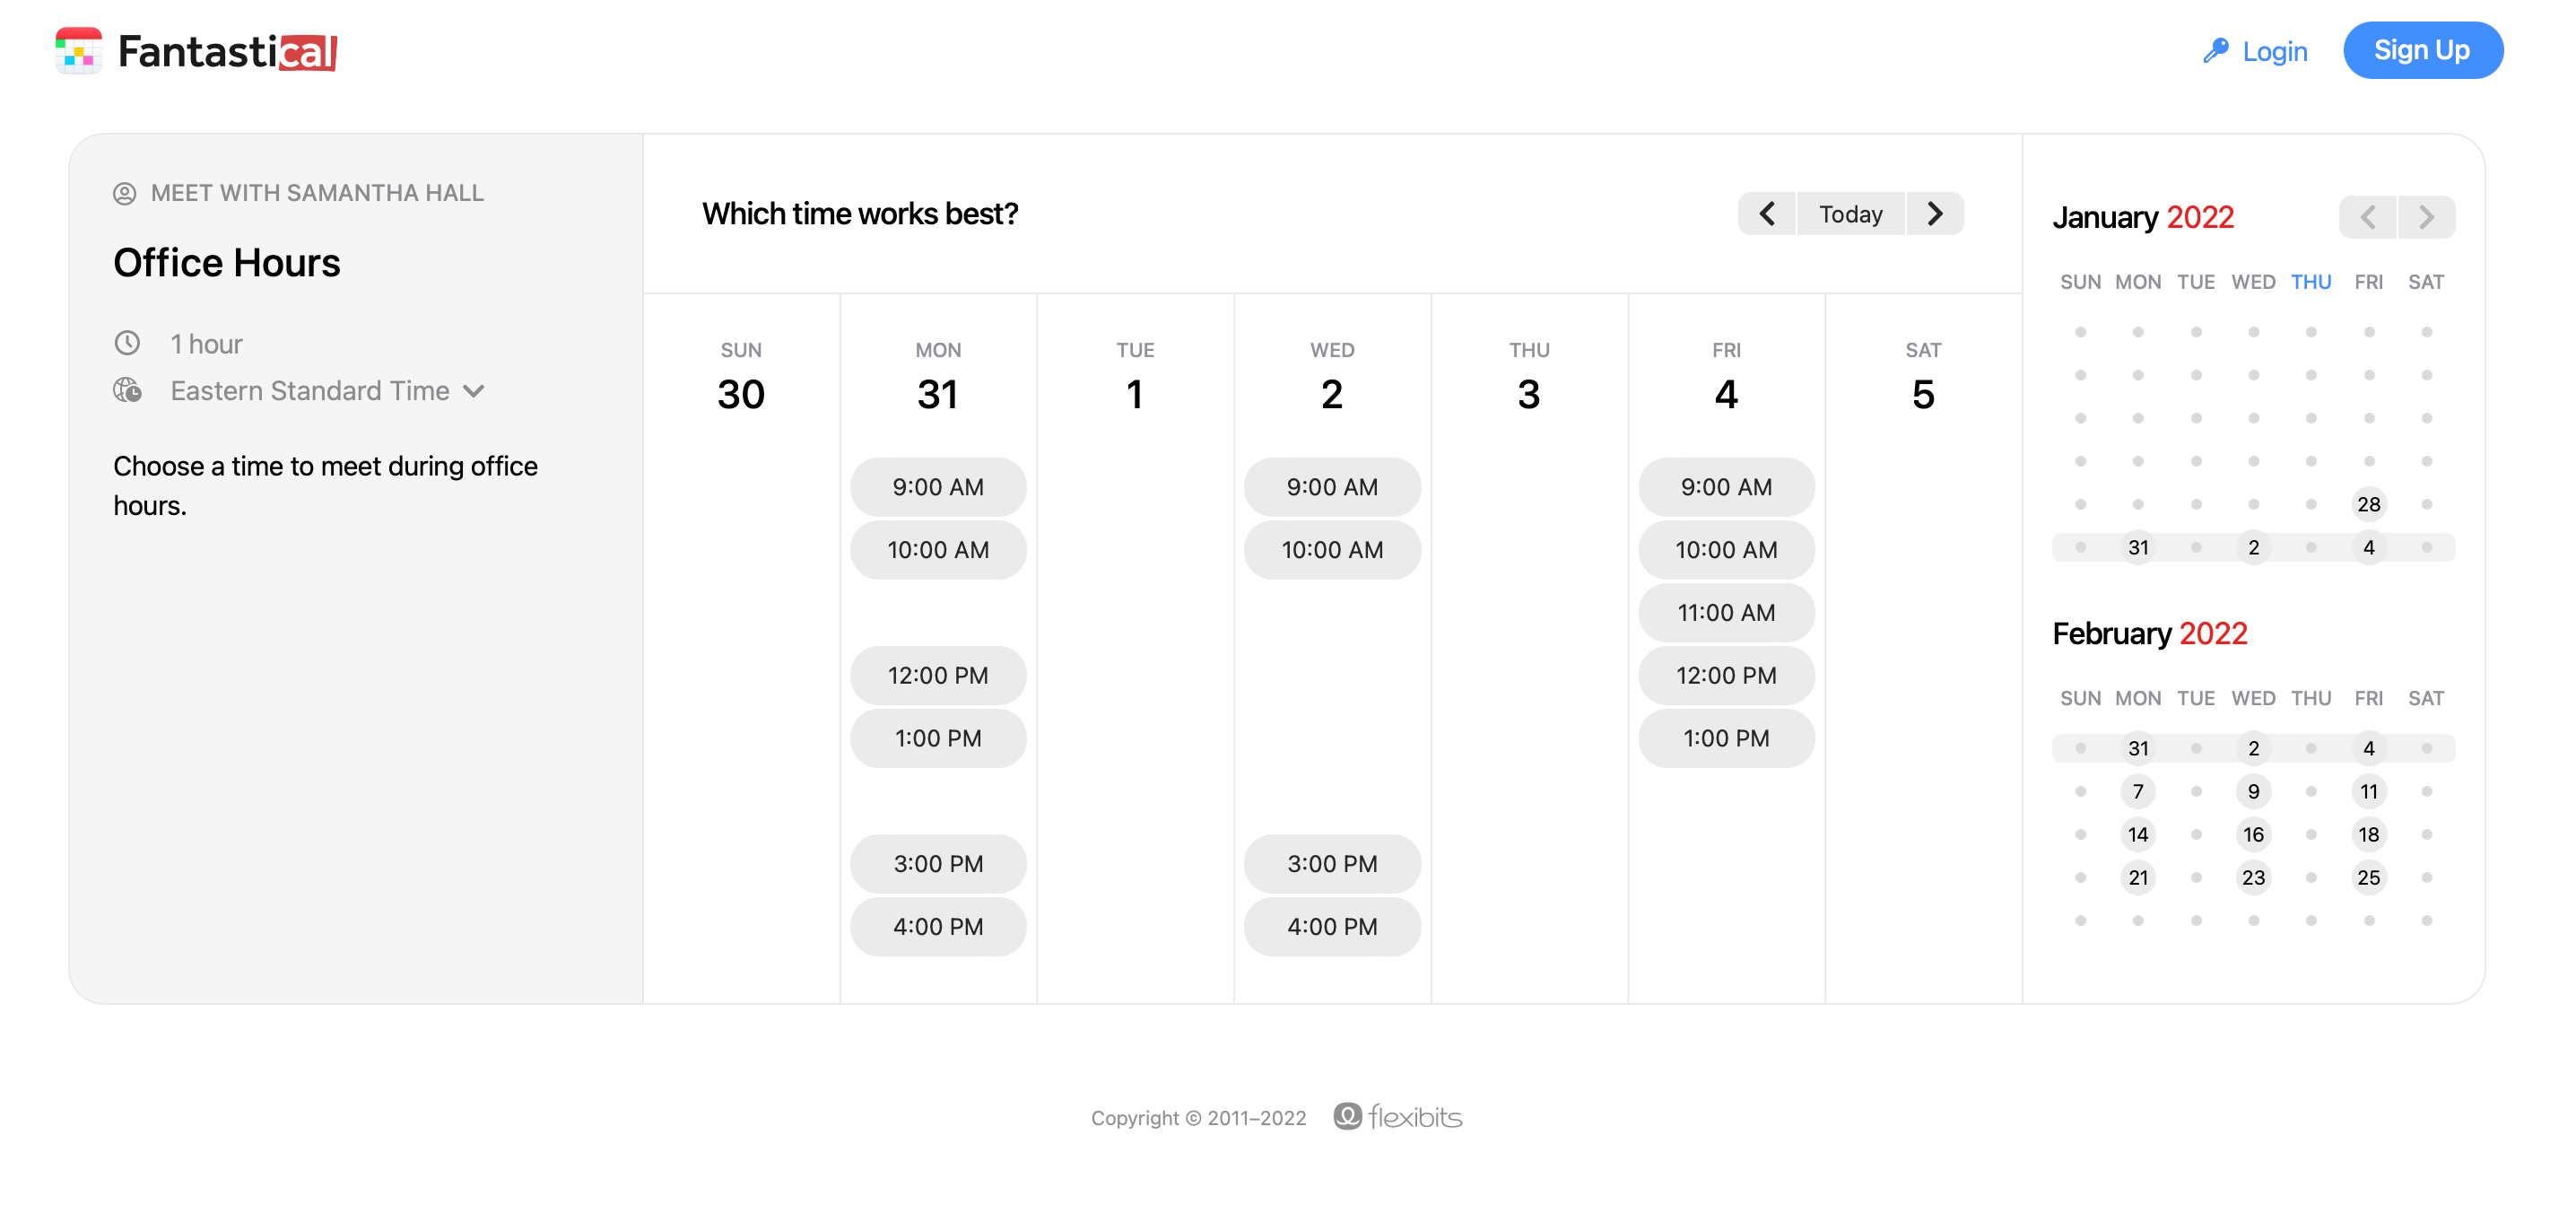
On the left-hand side, the recipient will see the title and description you provided in your template, as well as an option to change the time zone they are currently viewing the openings in.
Invitees view your available times in the center of the screen and select the one that works best for them.
The right-hand side of the screen allows the recipient to view the available dates per month, to quickly choose a date in the future and see your available times.
When the date/time has been chosen, the recipient will enter their information, verify their choice, answer any required questions, and then request the meeting. The recipient can also select Add Guests to add and notify additional guests of the scheduled event if you enabled this option on your template.

Depending on the setting you chose in the Approval section when creating the template (see above), you will either be notified that you need to approve the meeting, or it will automatically be created on your calendar.