Getting Started
Getting started with Fantastical is simple, and we'll walk you through the process.
Creating a Flexibits Account
When you first open Fantastical you'll be prompted to sign up for a Flexibits Account. This is used to manage your subscription, sync calendar sets, templates, notifications, weather, and more. Flexibits does not use your data for commercial purposes, and you can read more about our data safeguarding practices in our privacy policy.
After signing up, you will be presented with your account key. This is used to secure your account data in Fantastical across devices.
Check your subscription status, view your account key, and sign out of your Flexibits Account in Fantastical's Settings.
IMPORTANT: You only need a single Flexibits Account for all of your devices. When you log in to your Flexibits Account on other devices, choose the Sign In option and use the same login method that you used when you originally created your Flexibits Account (either your email address and password directly, Sign in with Apple, or Sign in with Google).
If you don't use the same sign in method, you will end up with multiple accounts which cause sync and subscription problems.
Connecting calendar accounts
You can connect calendar accounts (iCloud, Google, Exchange etc.) directly to Fantastical. Start by opening Fantastical, clicking the Fantastical menu button, and choosing File > Settings from the menu. You can also access the Settings by clicking on the Fantastical icon in your system tray, clicking the gear icon in the lower right, and selecting Settings from the menu.
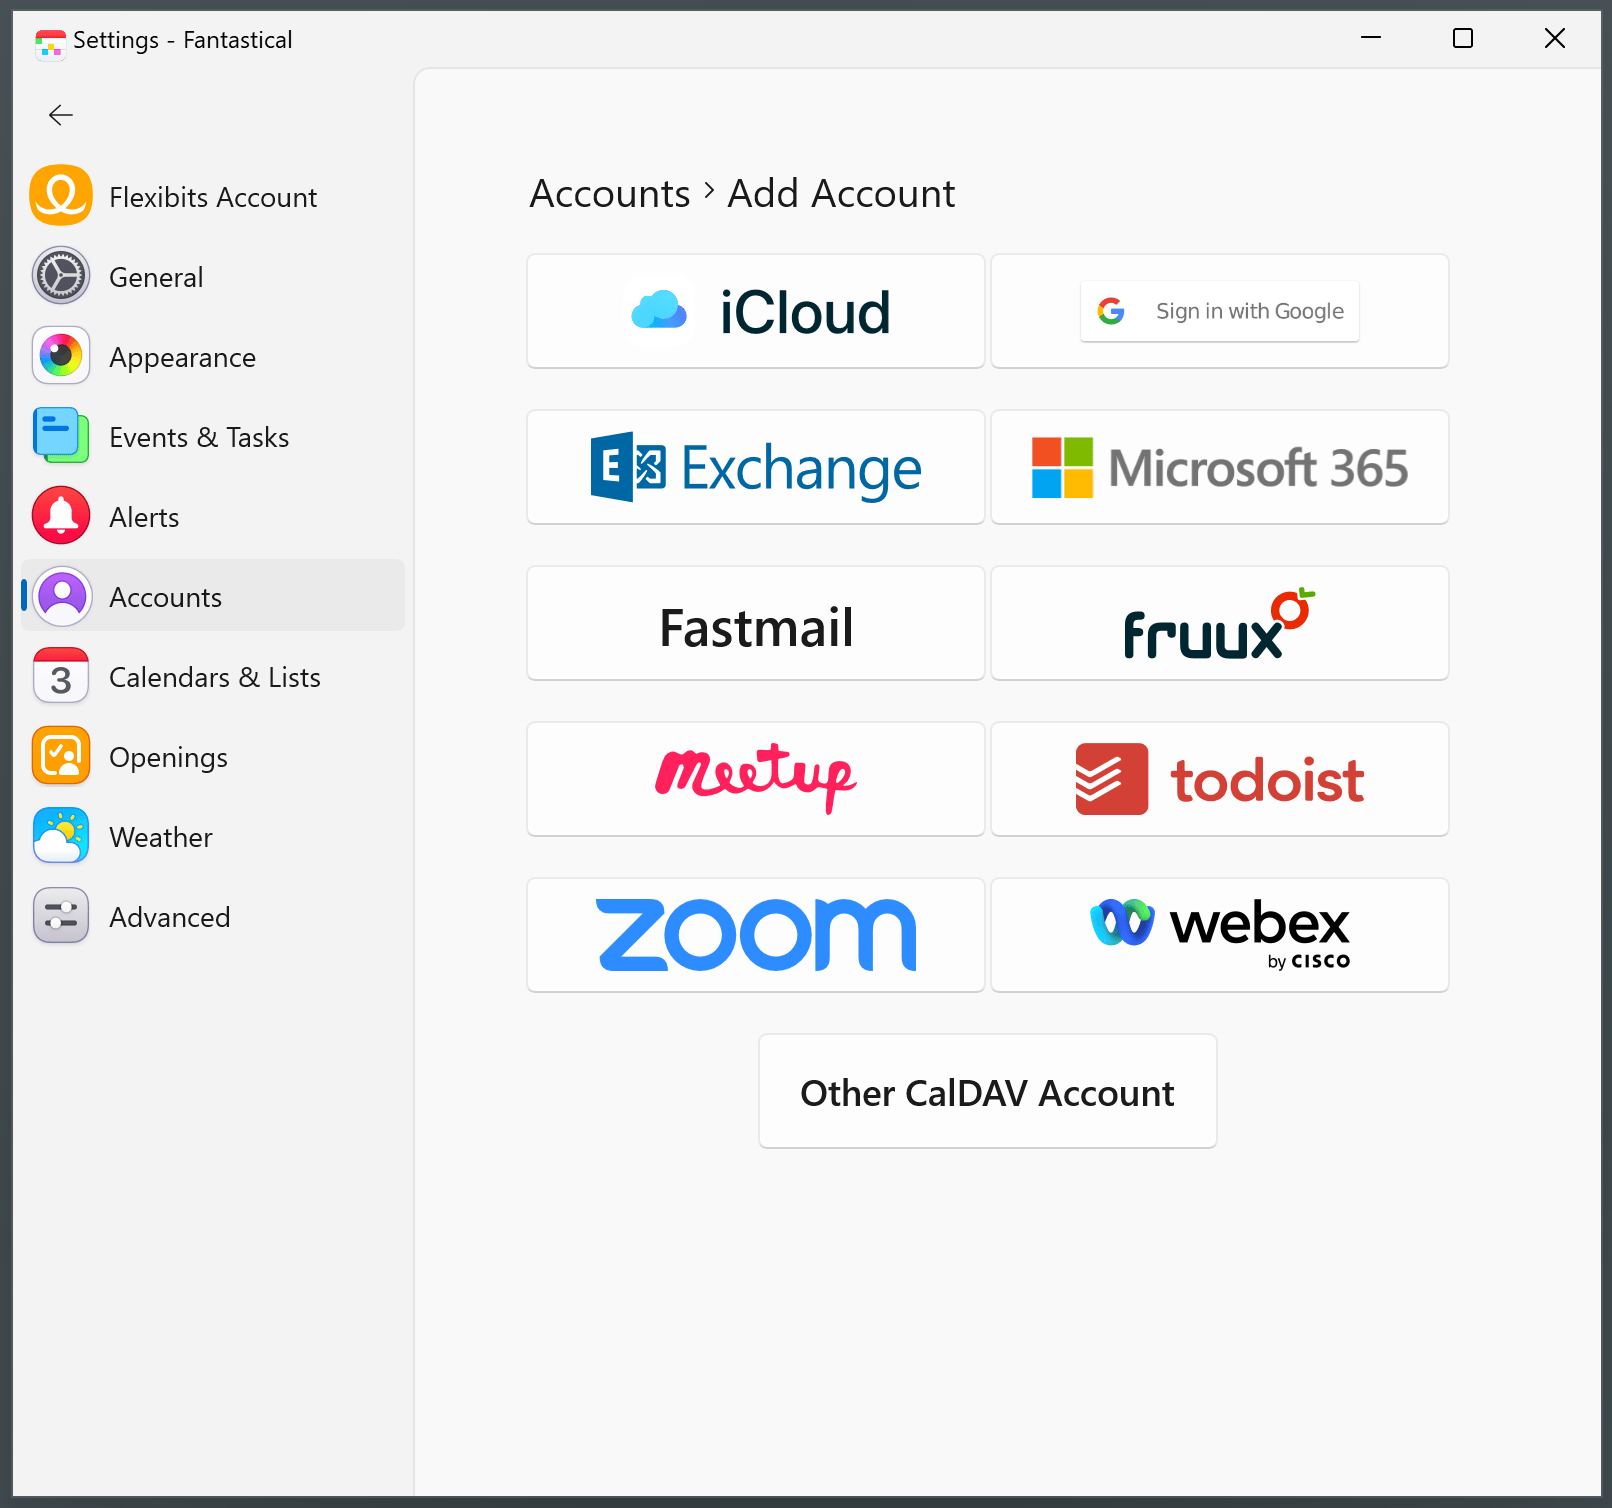
To add a new account, go to the Accounts section in Settings.
- Choose the + icon at the bottom left side of the Accounts pane to open a panel with account type options.
- Select the type of account you'd like to add.
- Fill in the credentials for the account to allow Fantastical to access and sync your events and tasks.

Adding an iCloud Account
To add an iCloud account:
- Go to Fantastical → Settings → Accounts and add your iCloud account
- Enter your Apple Account's primary email address (you can check your primary email address at account.apple.com)
-
Generate an app-specific password:
- Go to account.apple.com
- Under the Sign-In and Security section, select App-Specific Passwords
- Click/tap the plus button, then name and create your app-specific password (e.g. "Fantastical")
- Paste the generated app-specific password into Fantastical's App-Specific Password field
Adding a Google account
To add a Google account:
- Select the Google account type.
- Select the Google account you wish to add to Fantastical.
- Select "Continue".
- Click "Accept" to allow Fantastical to access your calendars.
Some Google Workspace organizations restrict access to third-party apps. We have more information about the Google scopes that Fantastical requests and how to add Fantastical as a trusted app to Google Workspace.
Adding an Exchange account
To add an Exchange account:
- Select the Exchange account type.
- Fill in your Exchange email address and password.
- Click "Add".
- If you need to enter a username or Exchange URL, you will be prompted after clicking "Add".
Once you've added your Exchange account you can enable delegated or shared calendars by clicking Manage Delegates... in the Accounts settings. See Delegated and shared calendars on Exchange for more information.
If your organization uses Microsoft 365 then add your account as a Microsoft 365 account. If you are having trouble adding your Exchange account and you're not sure if your organization uses Microsoft 365, you can also try logging in to Microsoft 365 with your Exchange email address and password.
Adding a Microsoft 365 account
If your organization uses Microsoft 365 then it is better to add your account as a Microsoft 365 account rather than an Exchange account. This will allow Fantastical to connect using any single-sign-on or multi-factor authentication methods used by your organization.
To add a Microsoft 365 account using Microsoft EWS syncing:
- Select the Microsoft 365 account type.
- Log in to your Microsoft 365 account.
To add a Microsoft 365 account using Microsoft Graph syncing:
- Hold down the control key + shift on your keyboard and select the Microsoft 365 account type
- Log in to your Microsoft 365 account.
Please note, Microsoft Graph syncing doesn't support delegated calendars in Fantastical. However if the shared calendars are added to your account in the Microsoft web UI then they should show up in Fantastical as well.
Requesting access from an admin
Some organizations restrict access to third-party apps. If this is the case, you can request that your Microsoft 365 admin grant access to Fantastical by sending your admin the following URL. This will authorize Fantastical's client ID with the organization so that you can add your Microsoft 365 account.
https://login.microsoftonline.com/common/oauth2/authorize?response_type=code&client_id=395befa1-fd95-454c-8286-2948ada76320&resource=https%3A%2F%2Foutlook.office365.com%2F&redirect_uri=https%3A%2F%2Fflexibits.com%2Ffantastical&state=YT1odHRwcyUzQSUyRiUyRmxvZ2luLm1pY3Jvc29mdG9ubGluZS5jb20lMkZjb21tb24mcj1odHRwcyUzQSUyRiUyRm91dGxvb2sub2ZmaWNlMzY1LmNvbSUyRg&prompt=admin_consent
Viewing Fantastical's Microsoft 365 OAuth scopes
If you use Fantastical in an organization, your admin may want to view the OAuth scopes Fantastical requests. Your admin can view this information here.
Adding a CalDAV account
- Select the "Other CalDAV Account".
- Enter your username, password, and the CalDAV server address.
- Click "Add".
Adding a calendar subscription
Fantastical can also add a calendar subscription via an iCal URL, or using Fantastical's Interesting Calendars feature.
To add a calendar via an iCal URL, click the Fantastical menu button > File > New Calendar Subscription... Here, paste the URL of the calendar you want to subscribe to and it will be added to Fantastical.
To add a calendar via the Interesting Calendars feature, click the Fantastical menu button > File > Add Interesting Calendars... Here, search or browse for a calendar you want to subscribe to and click the + icon to add it to Fantastical.


