Getting Started
Getting started with Fantastical is simple, and we'll walk you through the process.
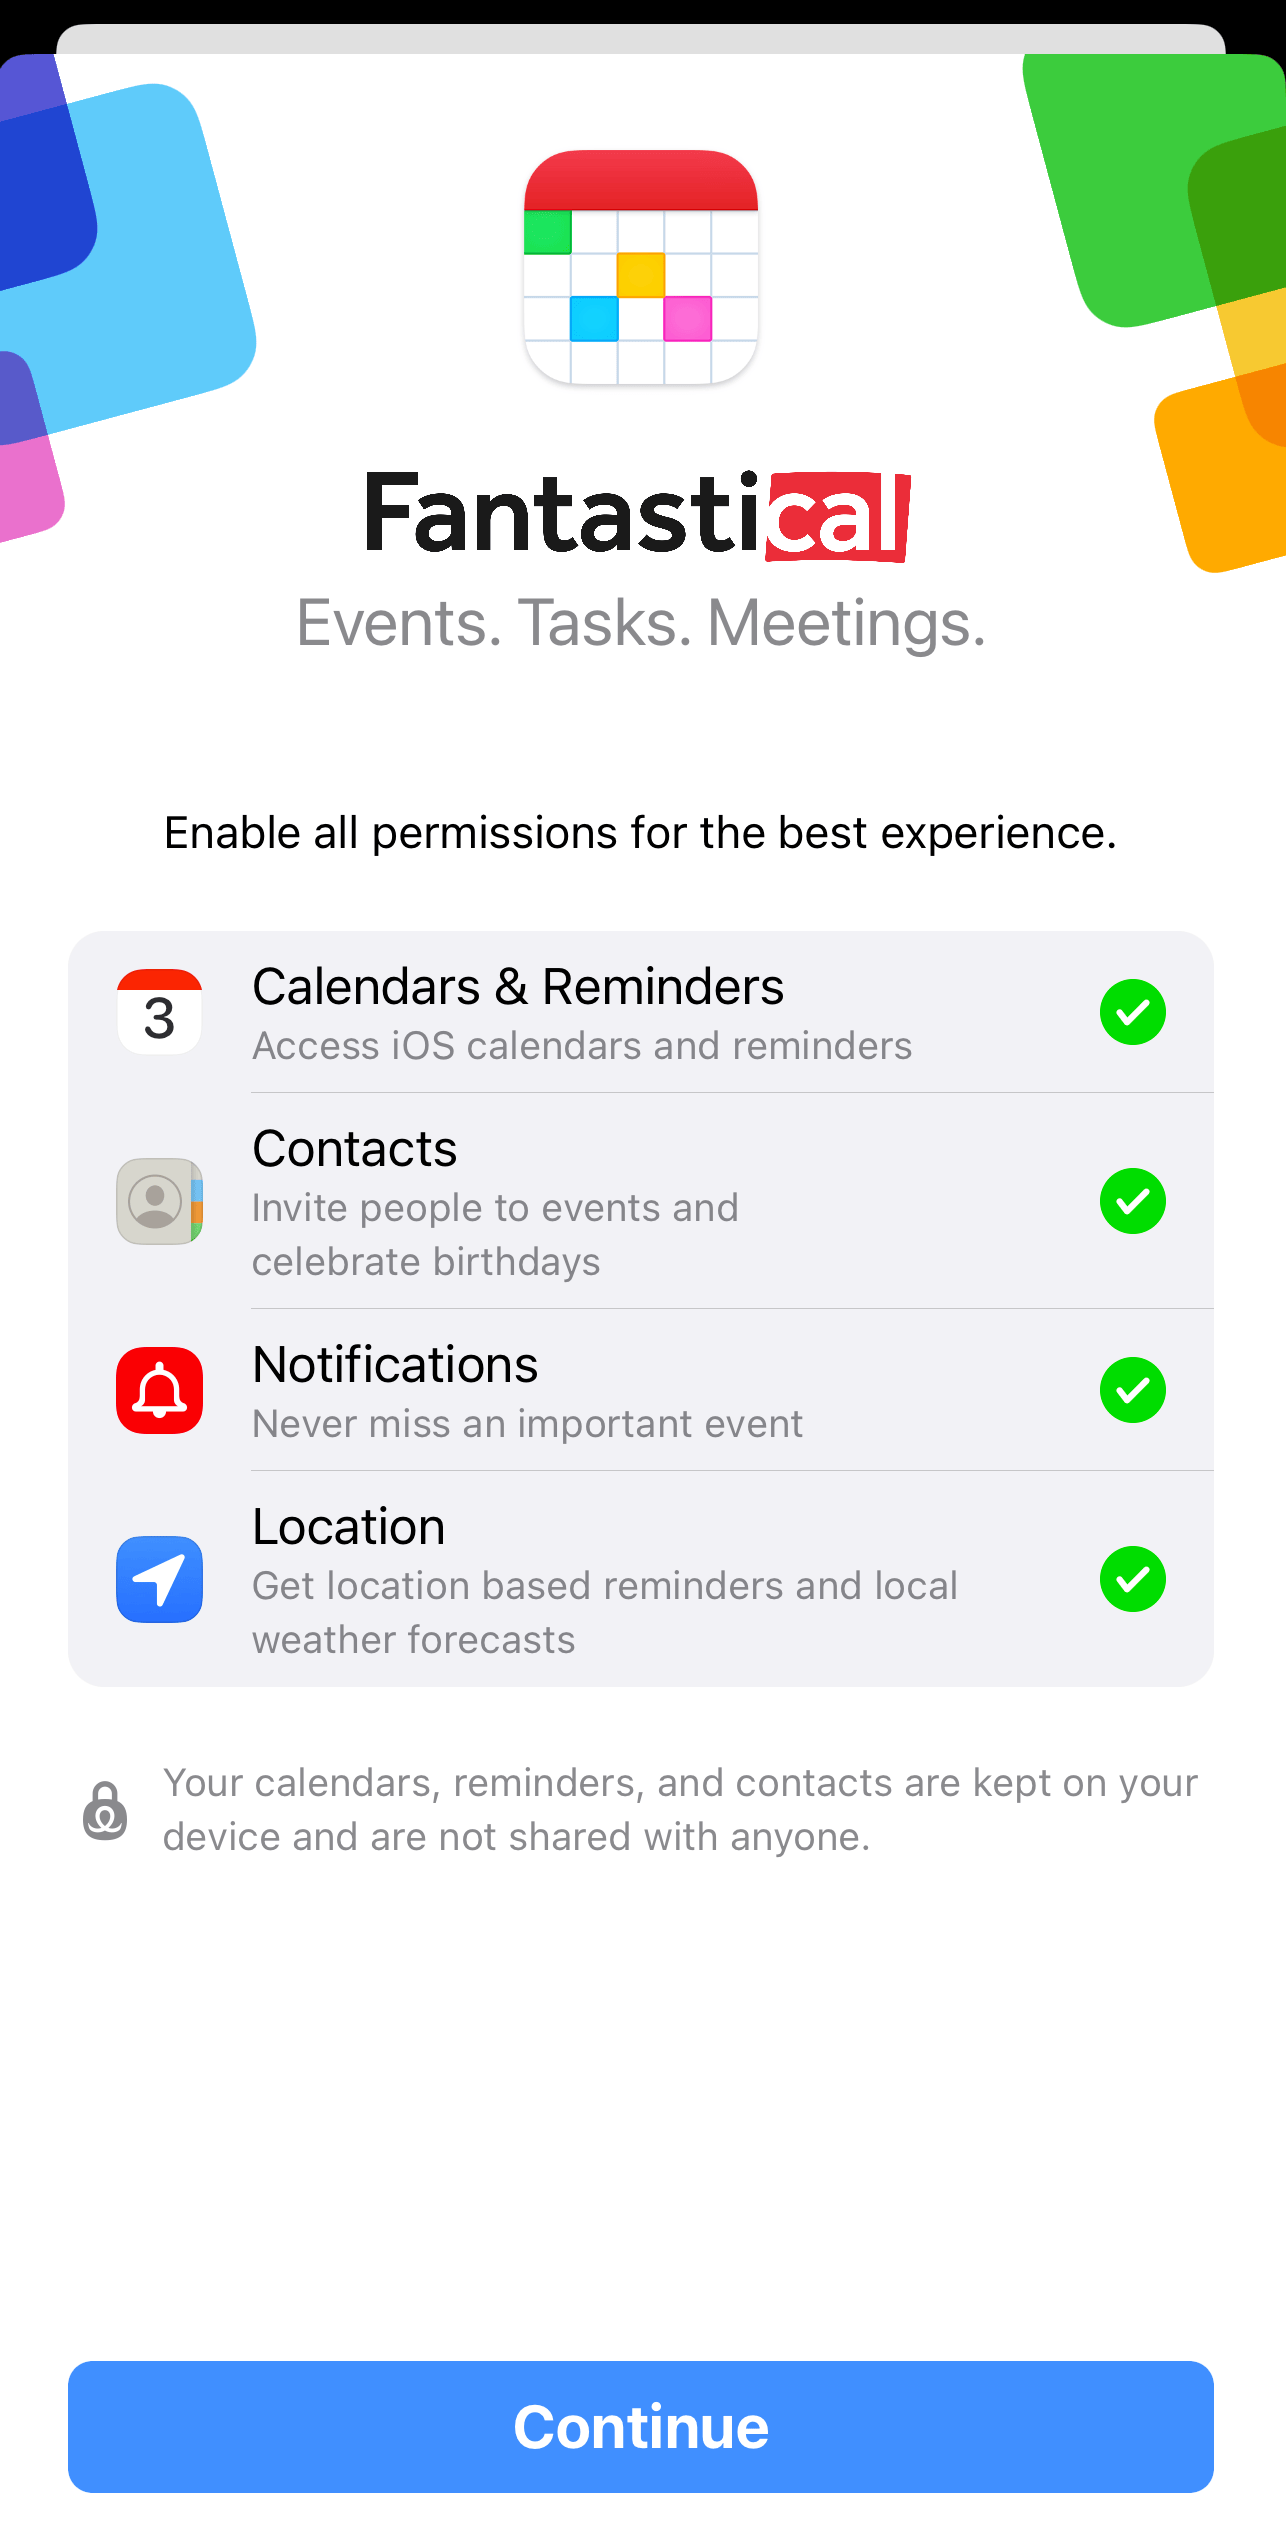
Start-up prompts
The first time you open Fantastical you'll be greeted with a few of iOS's security prompts. These prompts will ask for permission to access your calendars, contacts, and location. Make sure you grant Fantastical access to these, as Fantastical will need them to display your calendars, invite your contacts to events, and add locations to events and tasks. Fantastical only needs access to your data to show you your schedule, it does not pass any data to third parties. Please refer to our privacy page for full details on exactly what data Fantastical collects and why.
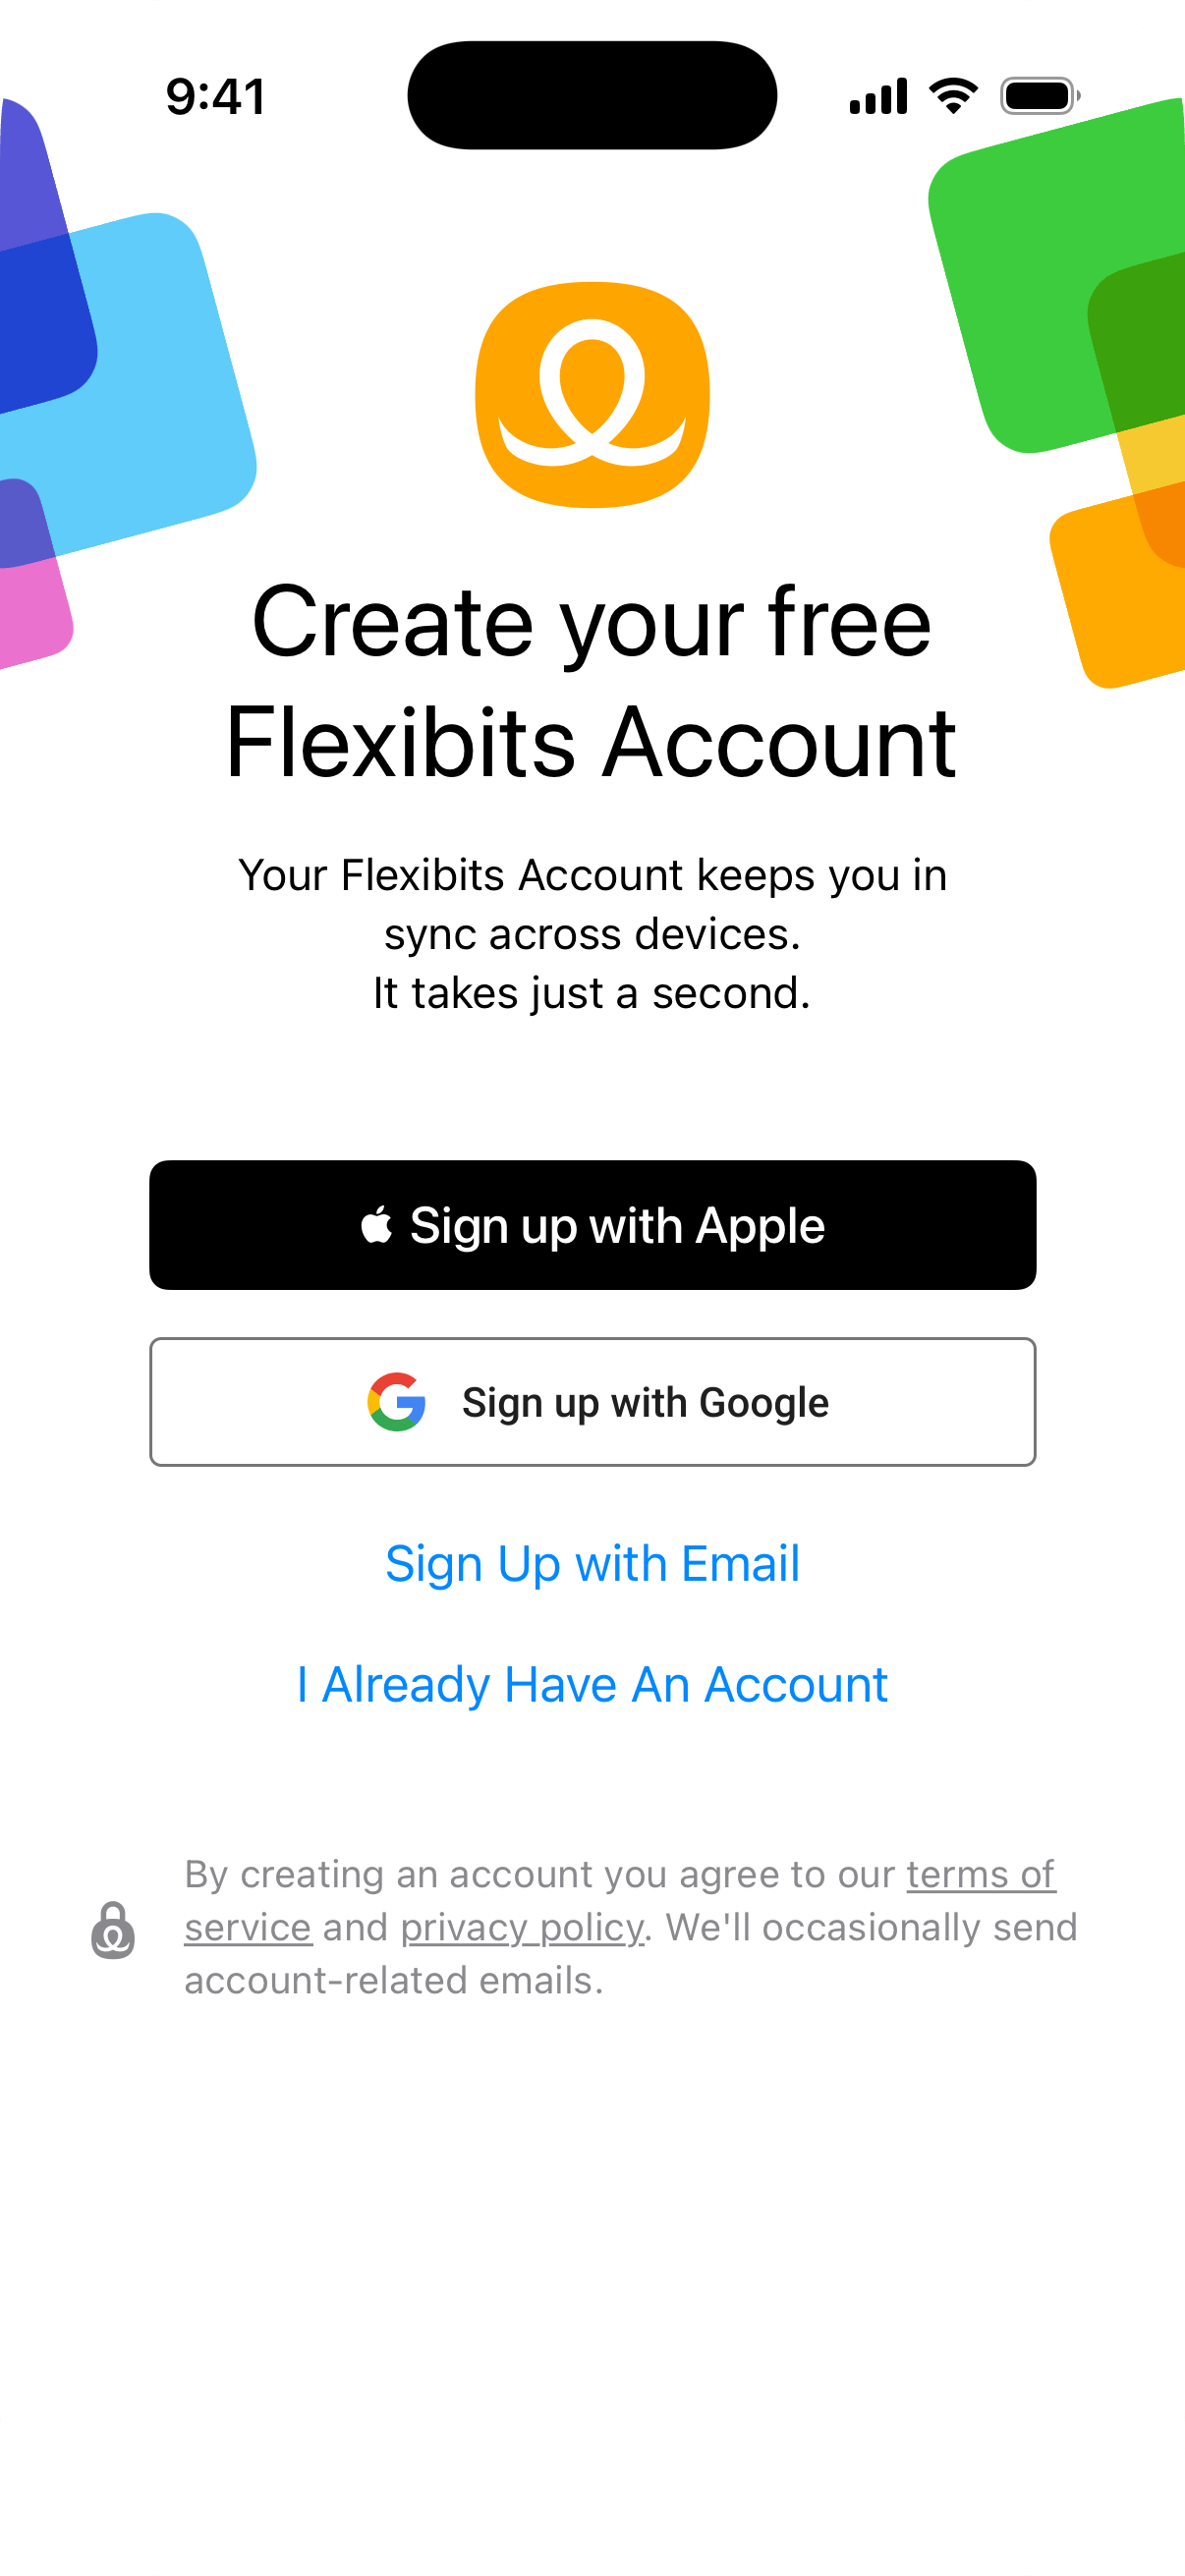
Creating a Flexibits Account
When you first open Fantastical you'll be prompted to sign up for a Flexibits Account. This is used to manage your subscription, sync calendar sets, templates, notifications, weather, and more. Flexibits does not use your data for commercial purposes, and you can read more about our data safeguarding practices in our privacy policy.
After signing up, you will be presented with your account key. This is used to secure your account data, and it is required to sign in to Fantastical on other devices if your devices do not share the same iCloud account.
Check your subscription status, view your account key, and sign out of your Flexibits Account in Fantastical's settings.
IMPORTANT: You only need a single Flexibits Account for all of your devices. When you log in to your Flexibits Account on other devices, choose the "Sign In" option and use the same login method that you used when you originally created your Flexibits Account (either your email address and password directly, Sign in with Apple, or Sign in with Google).
If you don't use the same sign in method, you will end up with multiple accounts which cause sync and subscription problems.
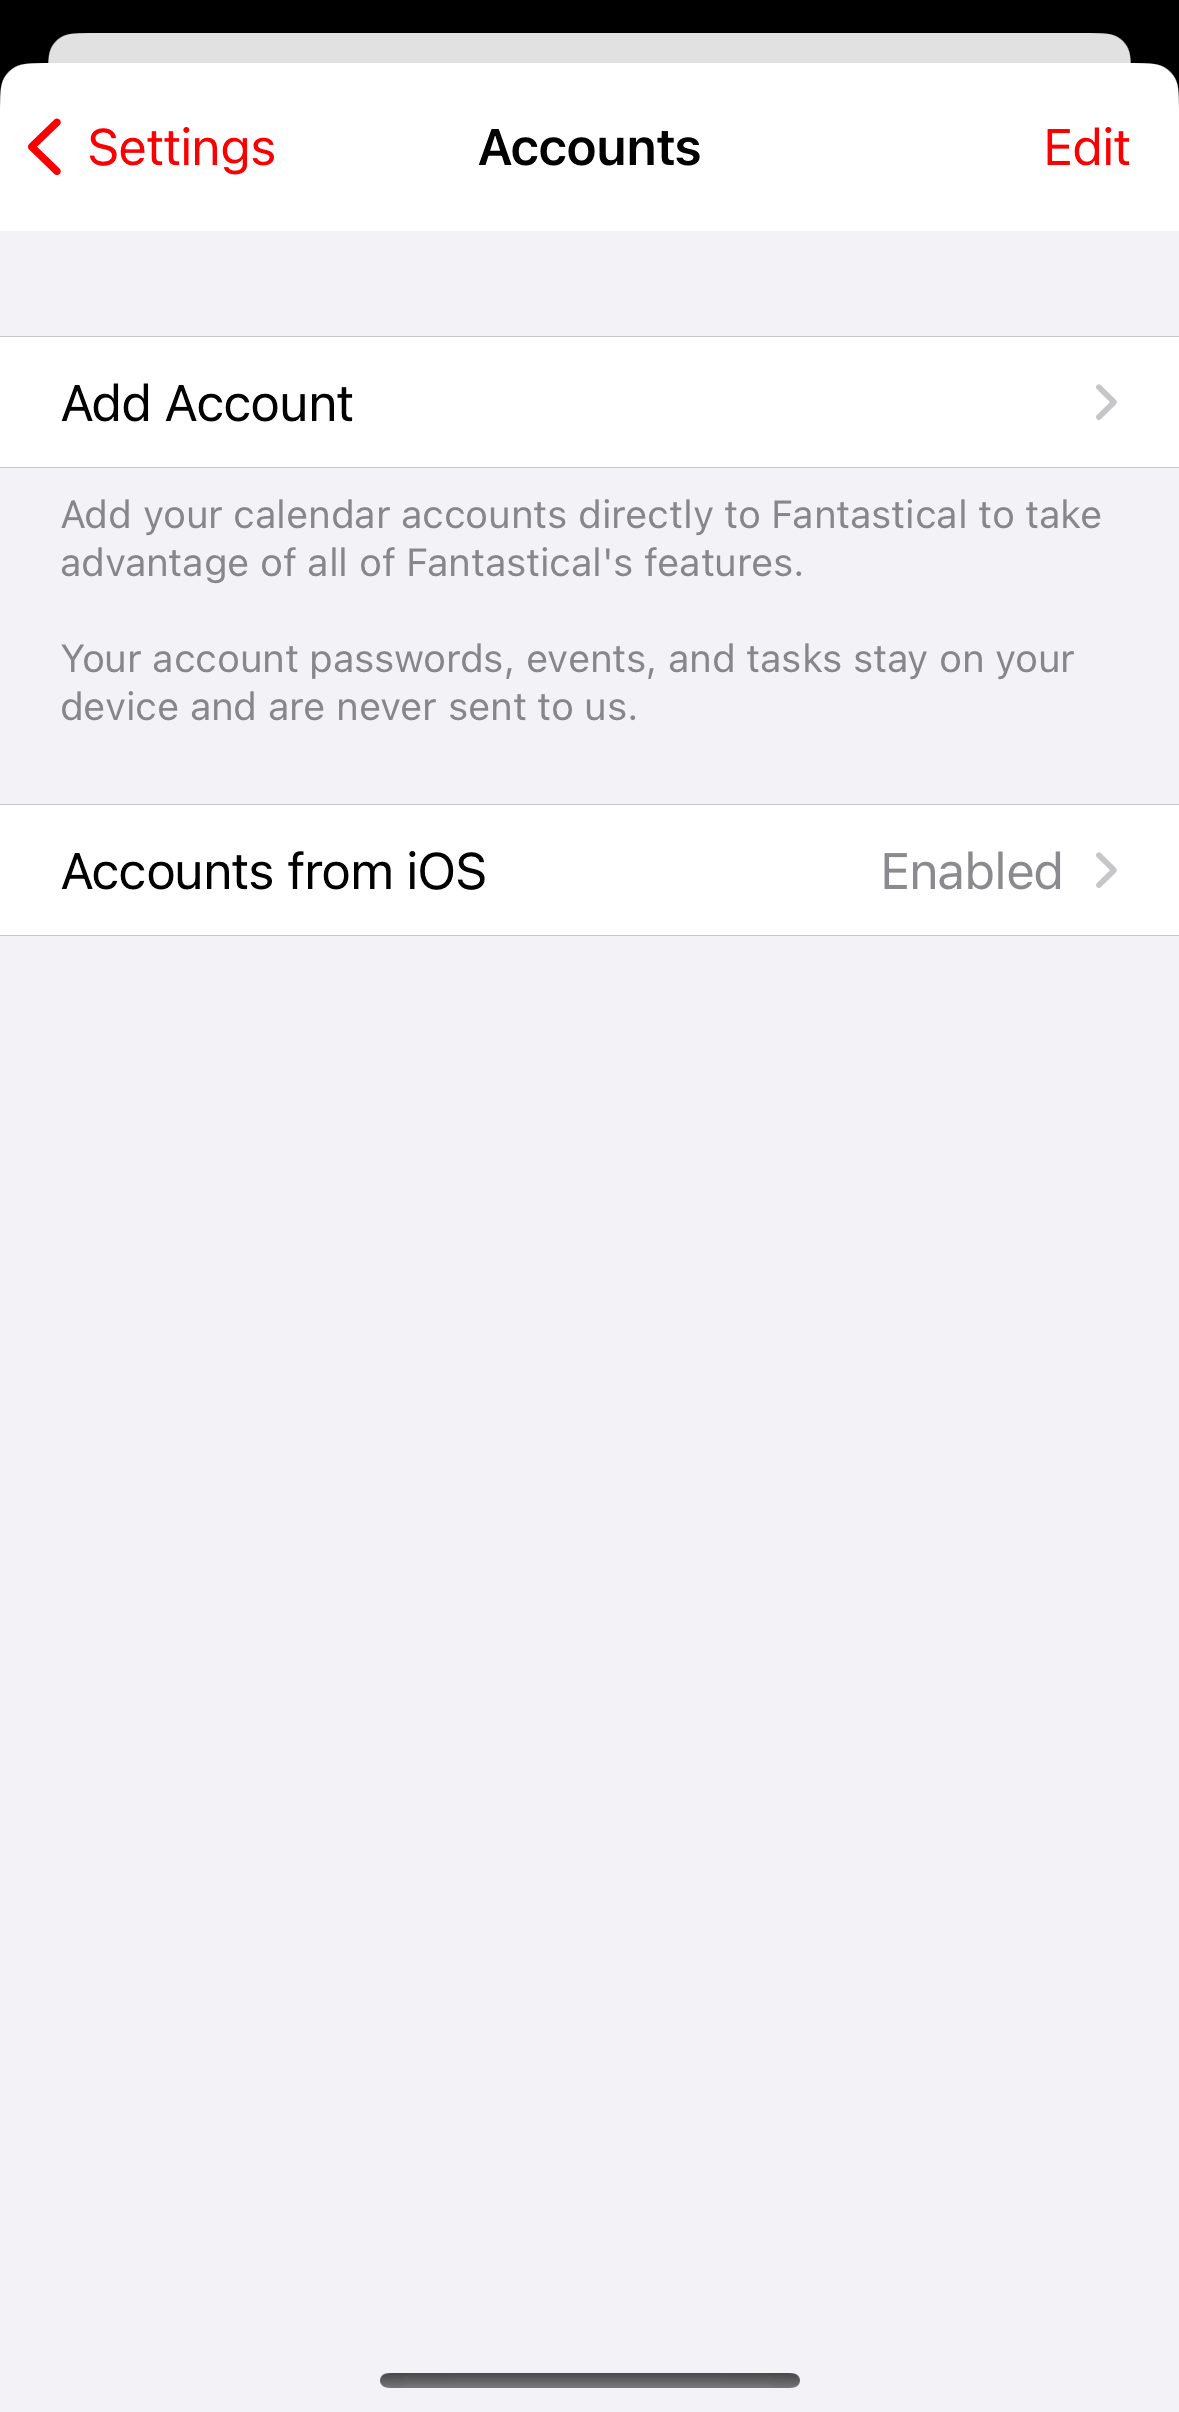
Connecting calendar accounts
You will need to connect your calendar accounts directly to Fantastical on iOS devices to access all of the premium features that are available. Adding your accounts directly will also help with syncing your events in the app. Open Fantastical's in-app settings and tap Accounts > Add Account to get started.
Select the calendar service you use to sync your events and enter your credentials to connect the account directly to Fantastical.
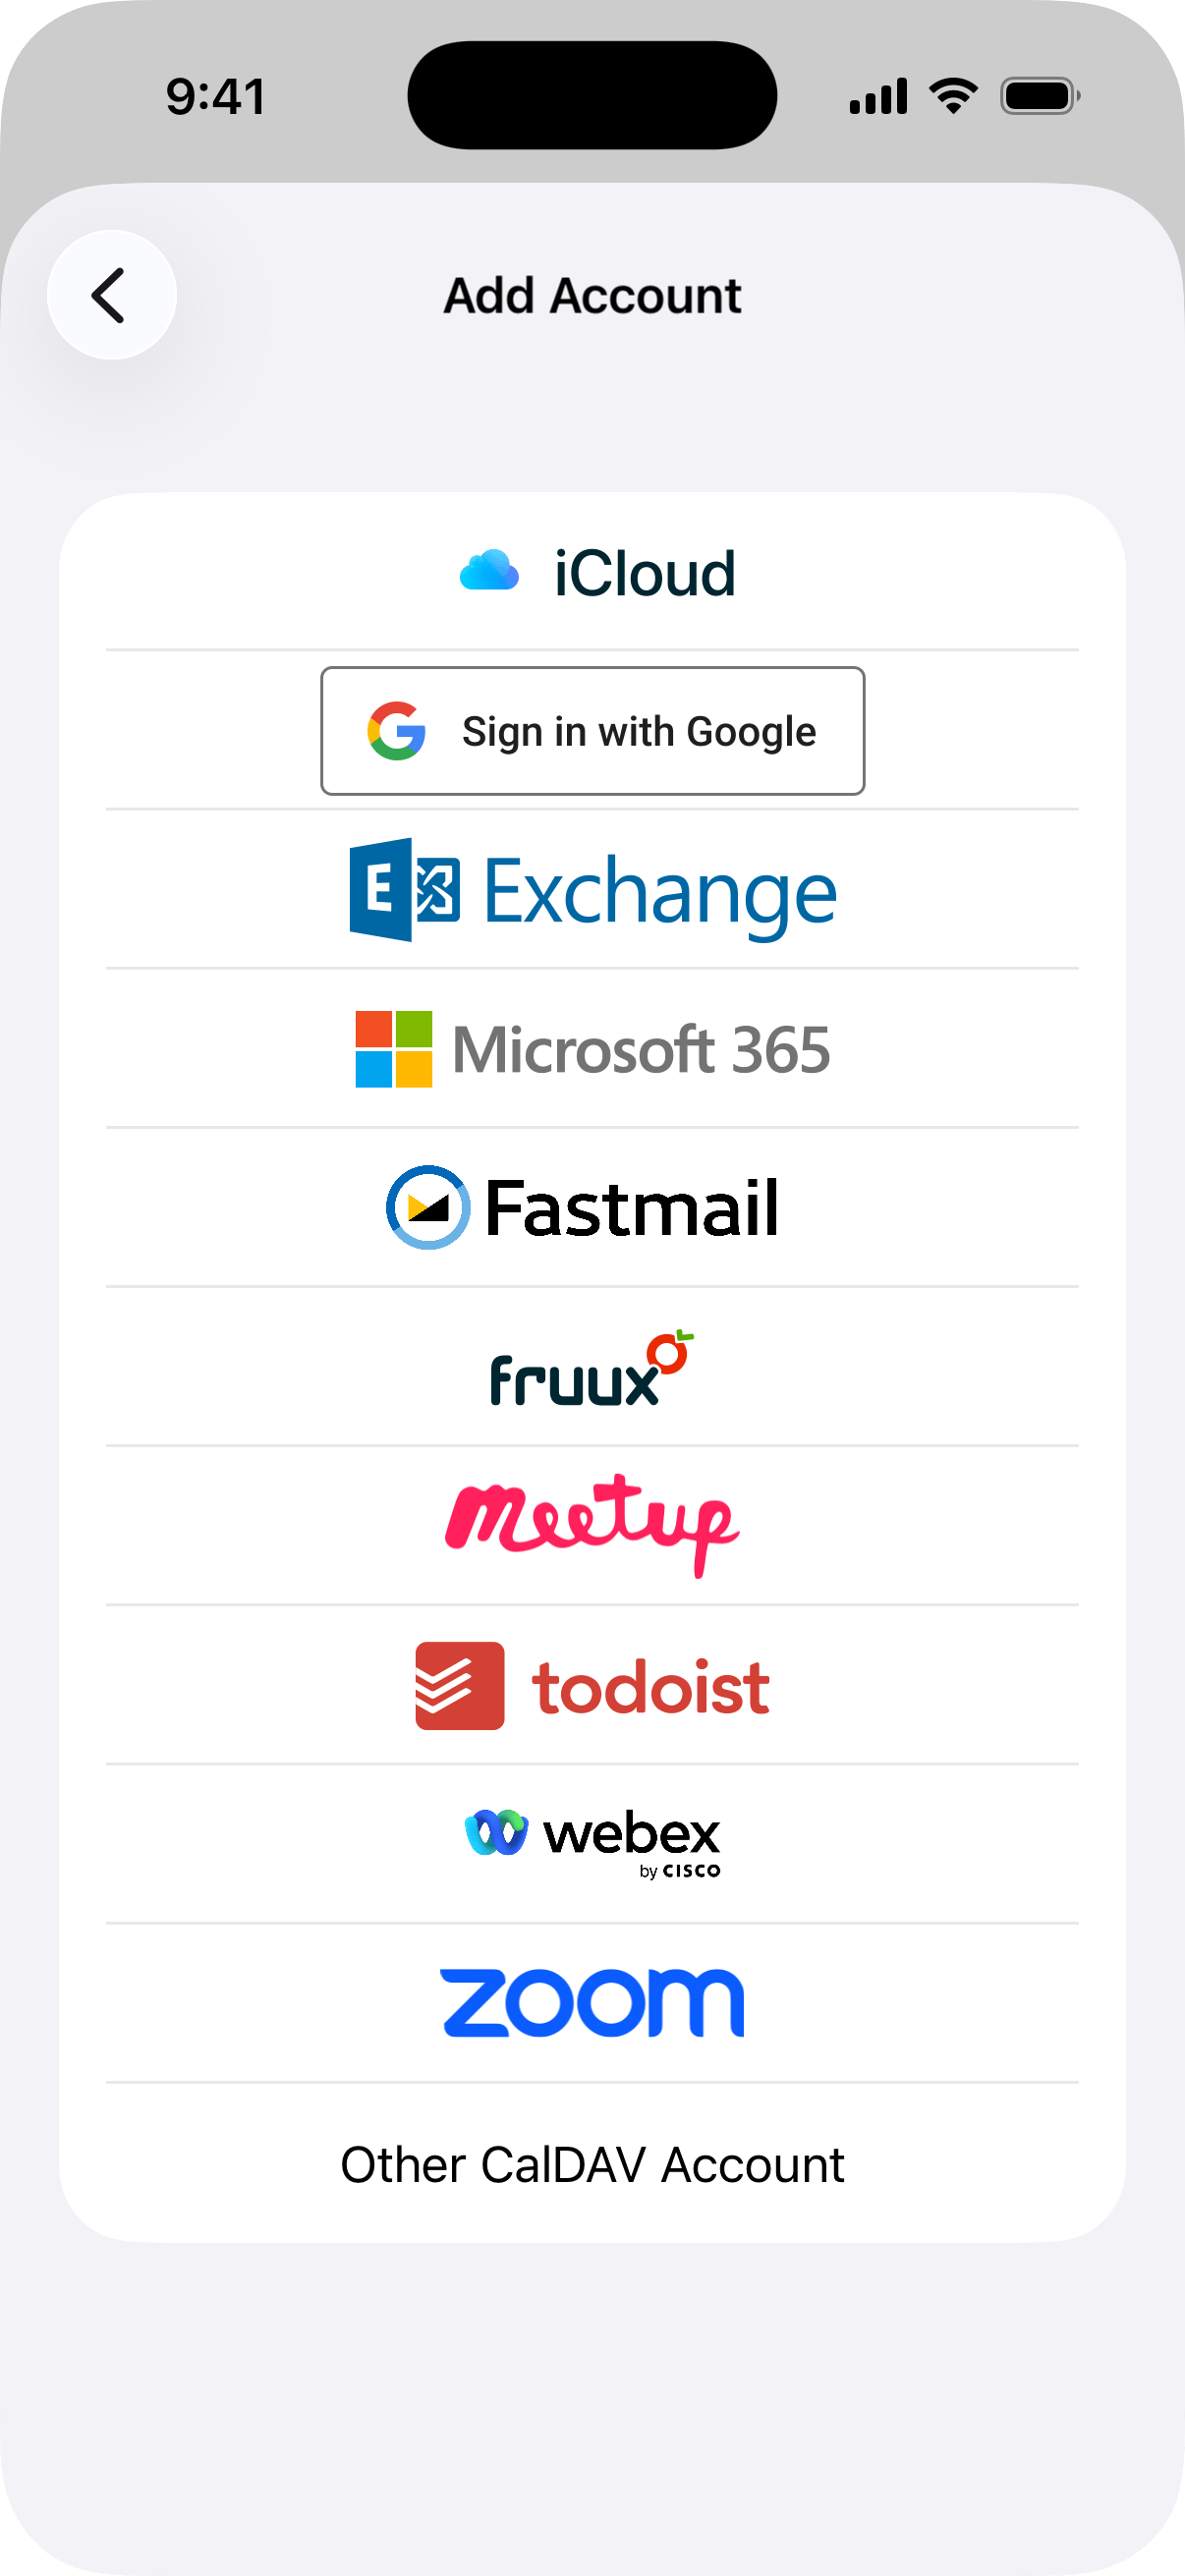
Adding an iCloud Account
To add an iCloud account:
- Go to Fantastical → Settings → Accounts and add your iCloud account
- Enter your Apple Account's primary email address (you can check your primary email address at account.apple.com)
-
Generate an app-specific password:
- Go to account.apple.com
- Under the Sign-In and Security section, select App-Specific Passwords
- Click/tap the plus button, then name and create your app-specific password (e.g. "Fantastical")
- Paste the generated app-specific password into Fantastical's App-Specific Password field
Adding a Google account
To add a Google account:
- Select the Google account type.
- Fill in your Google username (email address) and password.
- Select "Sign In".
- Select "Accept" to allow Fantastical to access your calendars.
Some Google Workspace organizations restrict access to third-party apps. We have more information about the Google scopes that Fantastical requests and how to add Fantastical as a trusted app to Google Workspace.
Once you've added your Google account you can enable shared calendars by selecting Manage Delegates... in the Accounts settings. If someone has shared a Google calendar with you but the calendar doesn't appear in Fantastical, tap the link under Hide or show shared calendars at in the Google account details to access Google's Sync Settings and ensure that the calendar is enabled.
Adding an Exchange account
To add an Exchange account:
- Select the Exchange account type.
- Fill in your Exchange email address and password.
- Select "Add".
- If you need to enter a username or Exchange URL, you will be prompted after selecting "Add".
Once you've added your Exchange account you can enable delegated or shared calendars by selecting Manage Delegates... in the Accounts settings. See Delegated and shared calendars on Exchange for more information.
If your organization uses Microsoft 365 then add your account as a Microsoft 365 account. If you are having trouble adding your Exchange account and you're not sure if your organization uses Microsoft 365, you can also try logging in to Microsoft 365 with your Exchange email address and password.
Adding a Microsoft 365 account
If your organization uses Microsoft 365 then it is better to add your account as a Microsoft 365 account rather than an Exchange account. This will allow Fantastical to connect using any single-sign-on or multi-factor authentication methods used by your organization.
- Select the Microsoft 365 account type.
- Log in to your Microsoft 365 account.
Due to changes by Microsoft, Fantastical now using Microsoft Graph syncing when adding your account to the app.
Please note, Microsoft Graph syncing doesn't support delegated calendars in Fantastical. However if the shared calendars are added to your account in the Microsoft web UI then they should show up in Fantastical as well.
Requesting access from an admin
Some organizations restrict access to third-party apps. If this is the case, you can request that your Microsoft 365 admin grant access to Fantastical by sending your admin the following URL. This will authorize Fantastical's client ID with the organization so that you can add your Microsoft 365 account.
https://login.microsoftonline.com/common/oauth2/authorize?response_type=code&client_id=395befa1-fd95-454c-8286-2948ada76320&resource=https%3A%2F%2Foutlook.office365.com%2F&redirect_uri=https%3A%2F%2Fflexibits.com%2Ffantastical&state=YT1odHRwcyUzQSUyRiUyRmxvZ2luLm1pY3Jvc29mdG9ubGluZS5jb20lMkZjb21tb24mcj1odHRwcyUzQSUyRiUyRm91dGxvb2sub2ZmaWNlMzY1LmNvbSUyRg&prompt=admin_consent
Viewing Fantastical's Microsoft 365 OAuth scopes
If you use Fantastical in an organization, your admin may want to view the OAuth scopes Fantastical requests. Your admin can view this information here.
Delegated and shared calendars on Exchange and Microsoft 365 servers
Manage delegated and shared calendars on Exchange accounts by selecting the Manage Delegates… option. Add new delegated calendars by tapping in the search field and entering the person's name or email address who has delegated a calendar to you. You'll see a list of matching people that you can select to add as a delegate. Tap the name to add the delegated calendars.
If someone has shared a calendar with you but the calendar doesn't appear even after adding a delegate, the sharing permissions may not be correct. A user's primary calendar must be shared for delegated calendars to work, if someone only shares or delegates a secondary calendar then Fantastical will not be able to see it. See this Microsoft help document for more information.
You can also use the Public Folders option to browse and add public calendars on an Exchange server.
Please note: Microsoft Graph syncing doesn't support delegated calendars in Fantastical for Microsoft 365 accounts. However if the shared calendars are added to your account in the Microsoft web UI then they should show up in Fantastical as well.
Adding a CalDAV account
- Select the "Other CalDAV Account".
- Enter your username, password, and the CalDAV server address.
- Select "Add".
Adding a calendar subscription
Fantastical can also add a calendar subscription via an iCal URL, or using Fantastical's Interesting Calendars feature.
To add a calendar via a URL, go to Fantastical > Settings > Calendars & Lists > + > Add Subscription. Here, paste the URL of the calendar you want to subscribe to and it will be added to Fantastical.
To add a calendar via the Interesting Calendars feature, go to Fantastical > Settings > Calendars & Lists > + > Add Interesting Calendars. Here, search or browse for a calendar you want to subscribe to and click the + icon to add it to Fantastical.

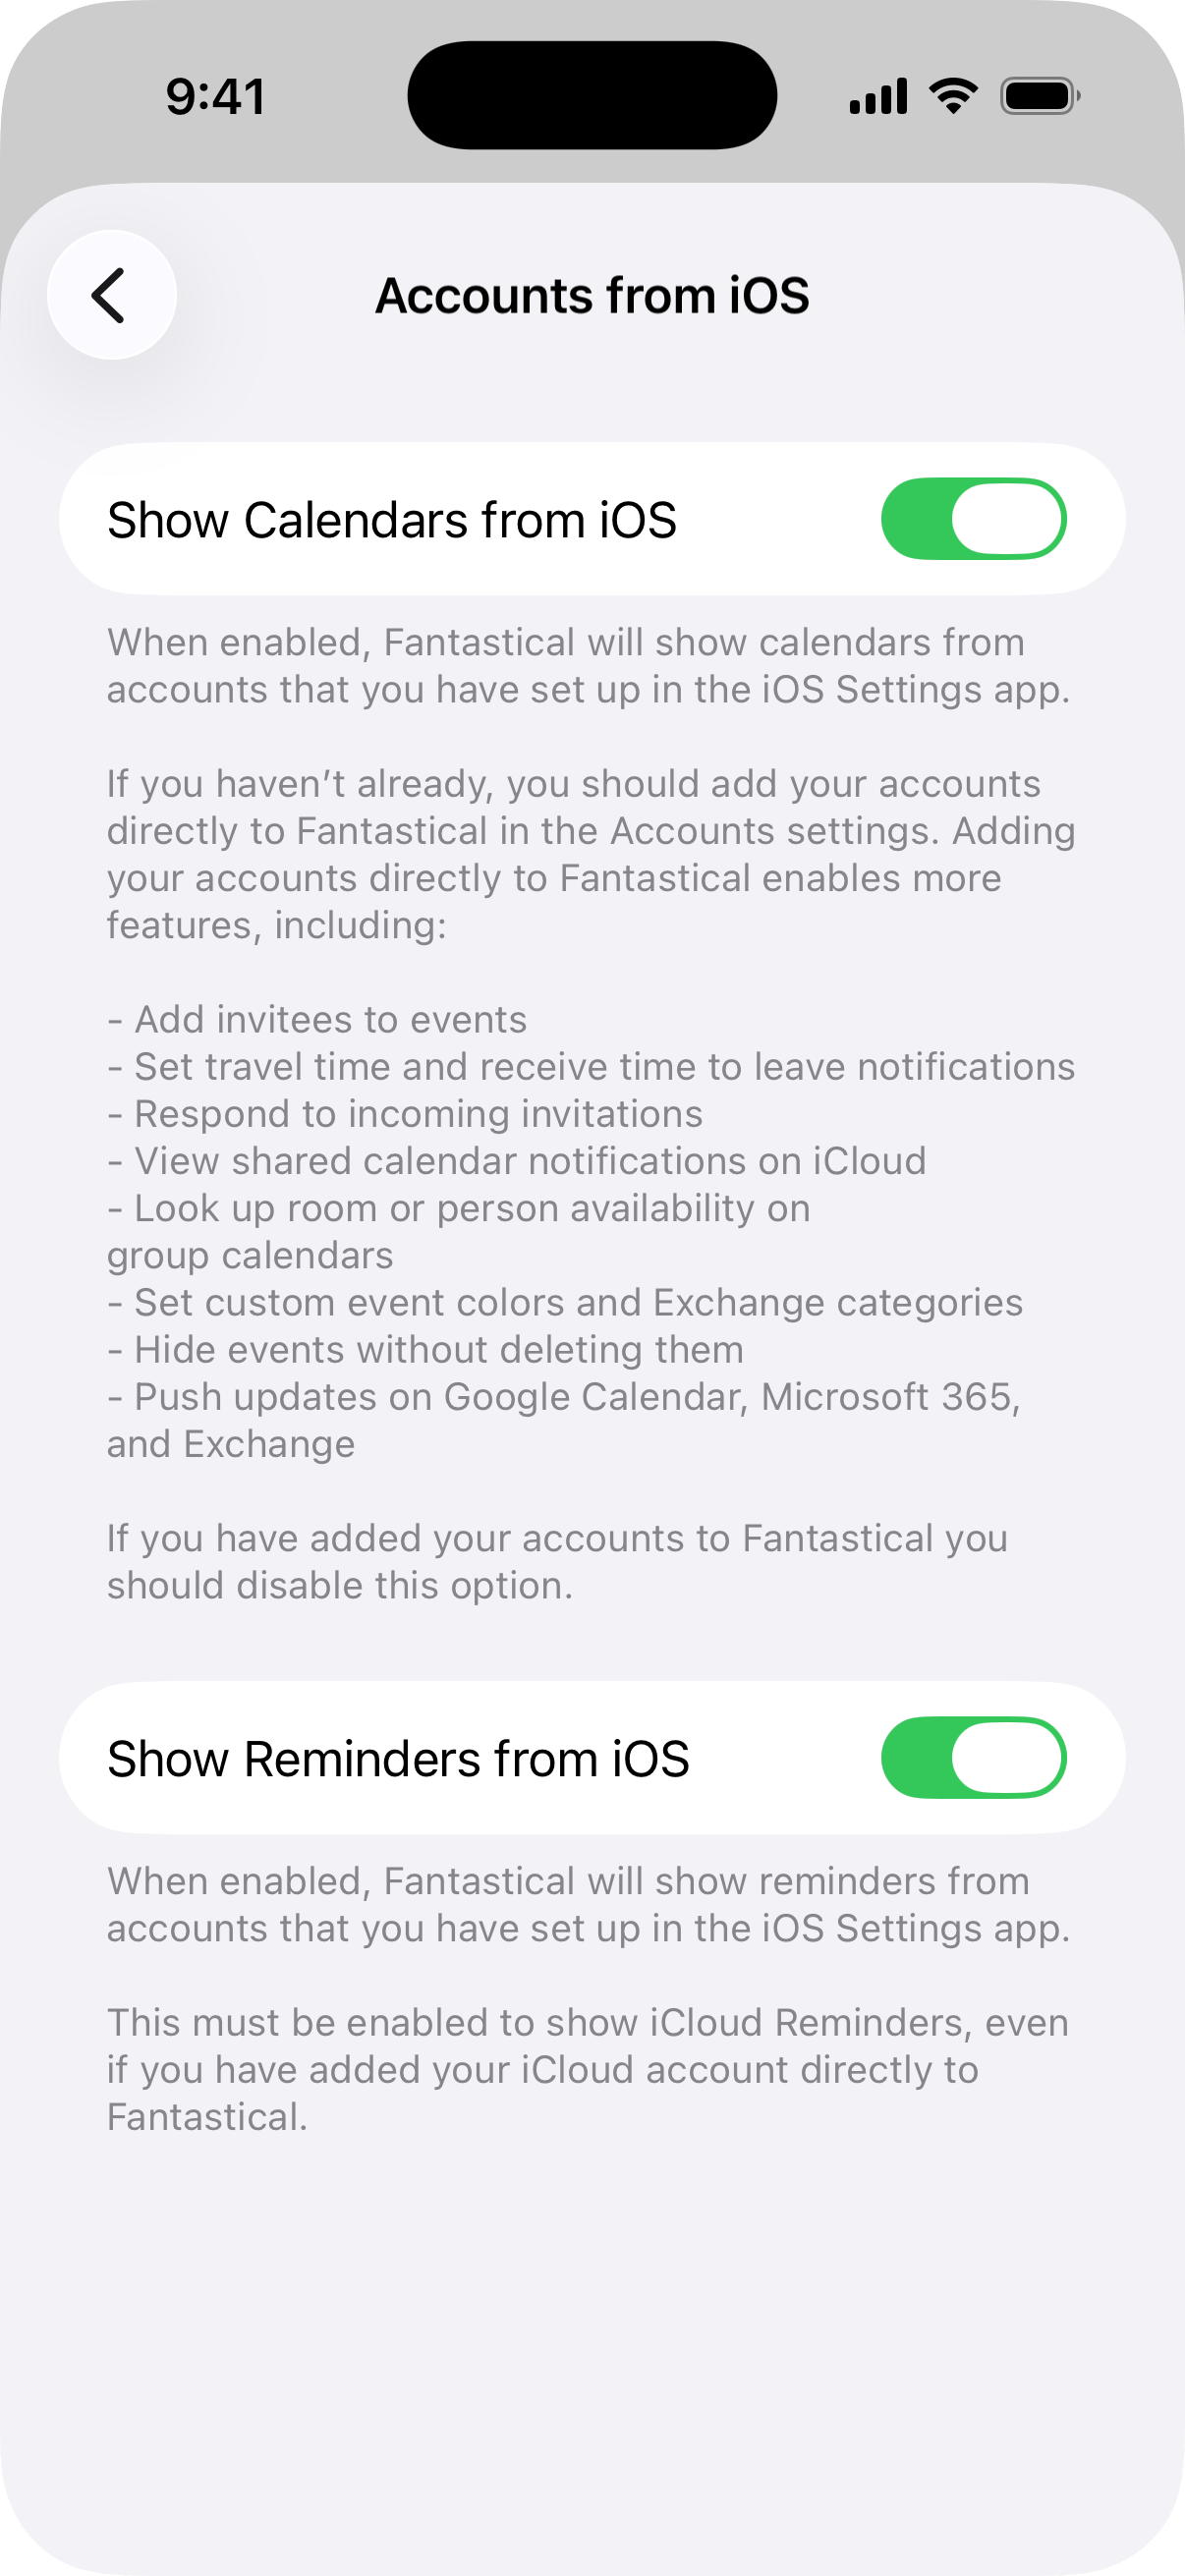
Viewing calendars and tasks from the built-in apps
To make full use of Fantastical's various features, we do recommend adding your accounts directly to Fantastical. However, you can enable the "Show Calendars from iOS" and "Show Reminders from iOS" options in Fantastical's Settings > Accounts > Accounts from iOS, and any calendars or tasks you've configured to work with Apple's Calendar and Reminders apps (iOS Settings > Calendar > Accounts) will be available in Fantastical.
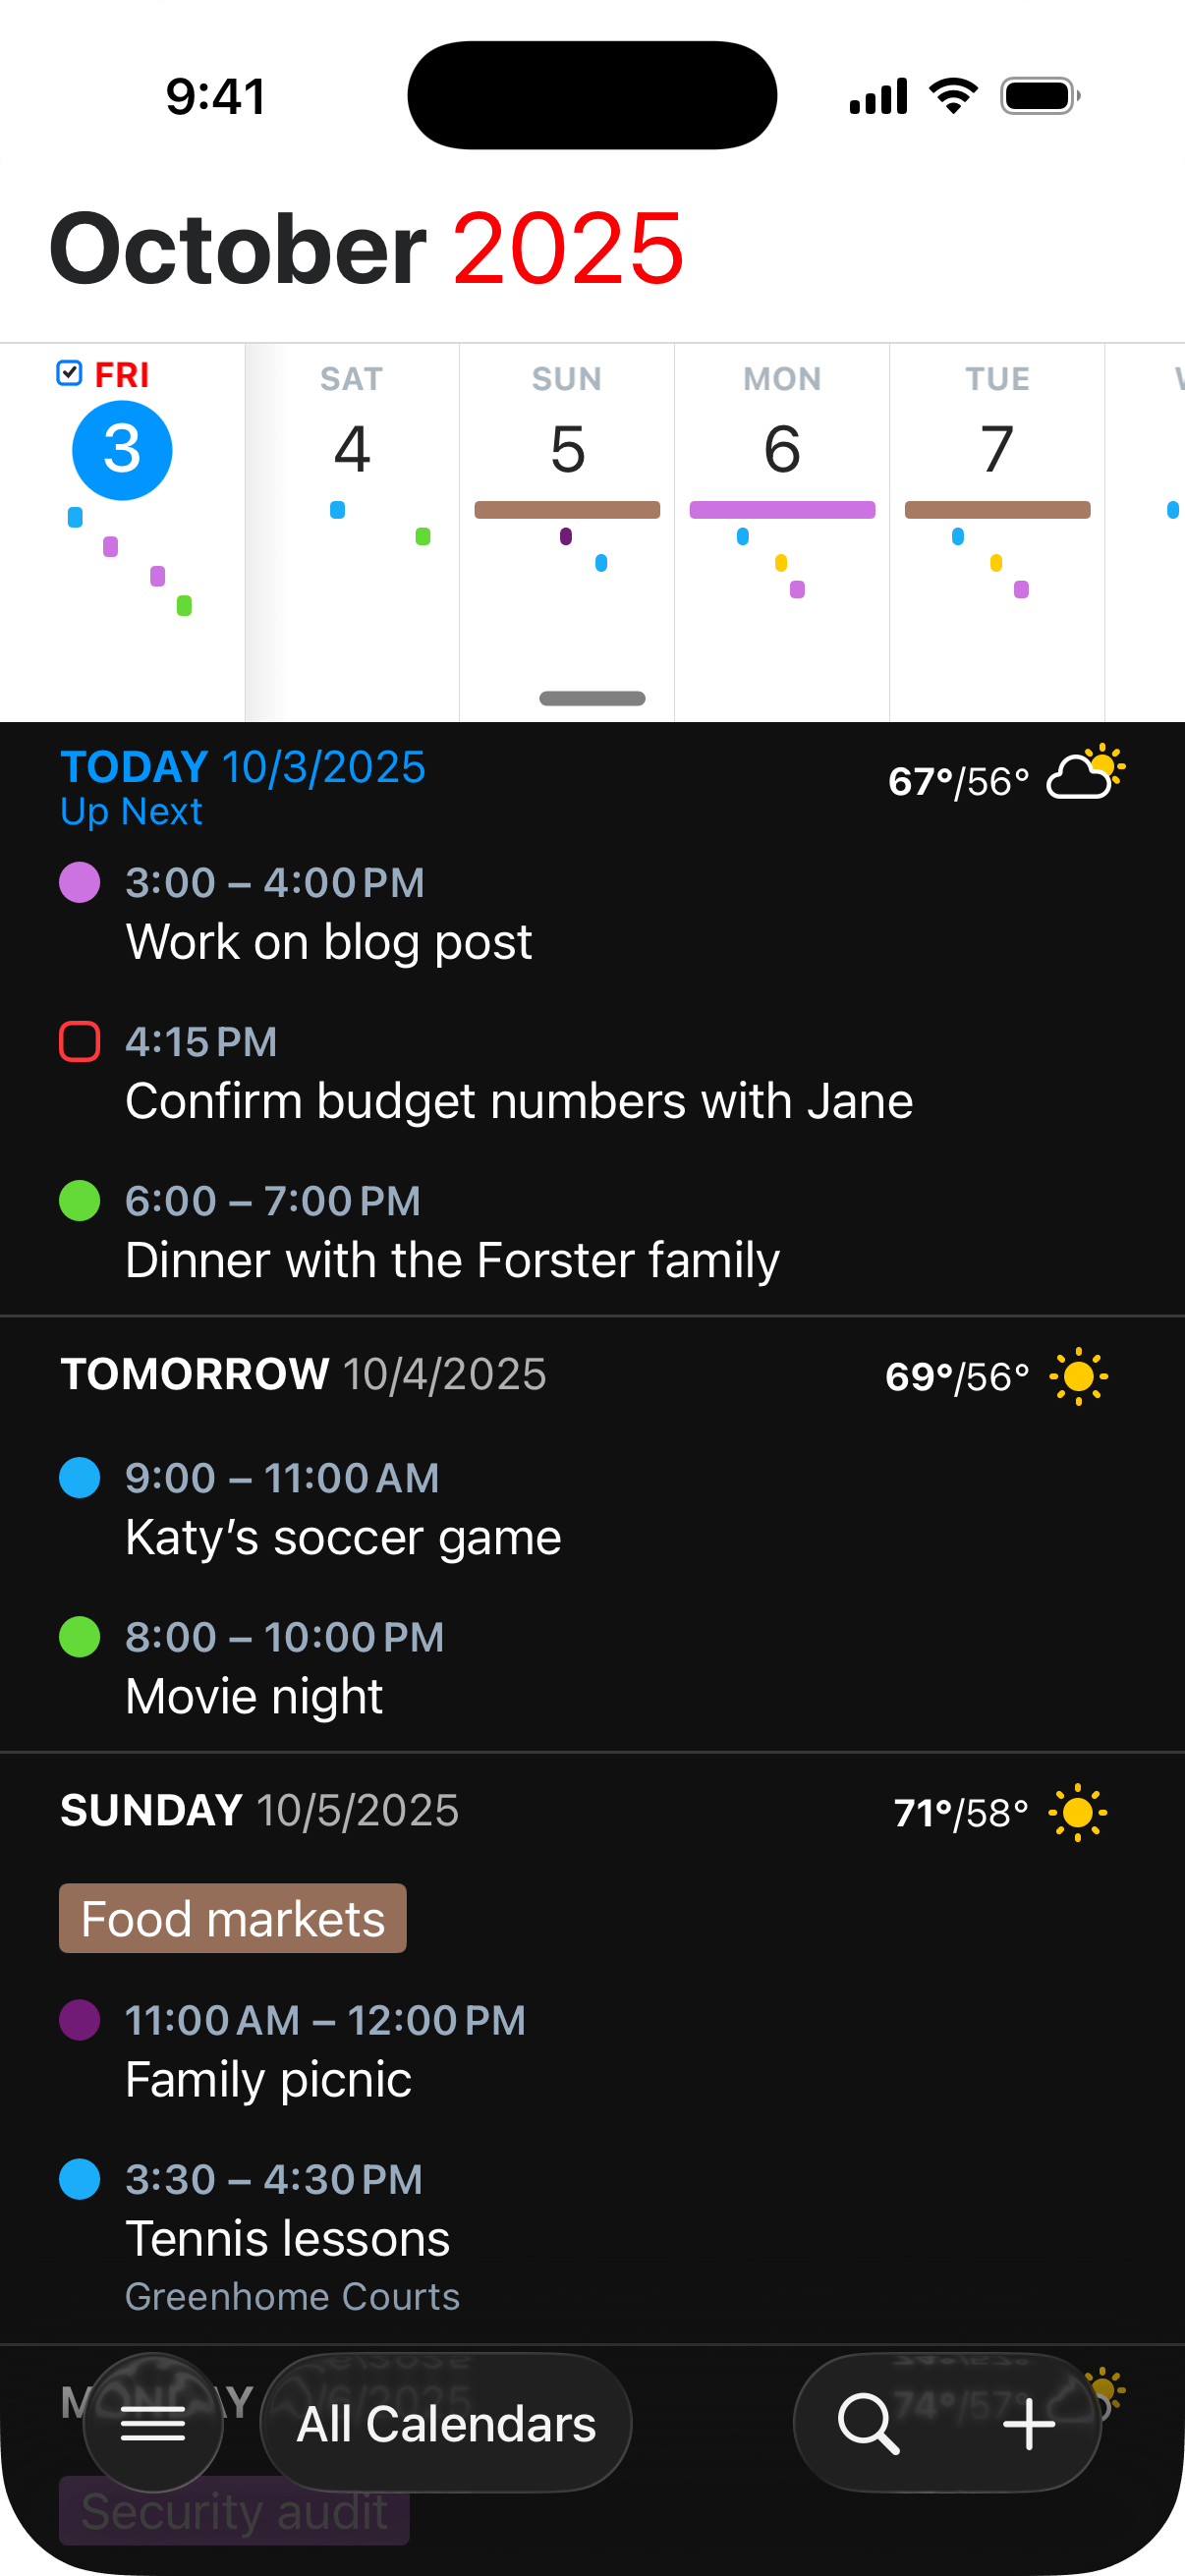
Viewing different dates
Scroll the event list or DayTicker to view different dates. To return to today, tap the month and year header at the top of the screen. Tap and hold this header to jump to a specific date.