Zapier Integration
Getting started with Zapier
Fantastical offers integration with Zapier so that you can create Zaps to help with your Openings and Proposals. A free Zapier account will allow you to access this feature and you can create your account, if needed, on Zapier's website.
To connect Fantastical to Zapier, you will need an API key that you must generate directly in your Flexibits Account. Be ready to add your API key to Zapier, as you can only view it once when you generate it.
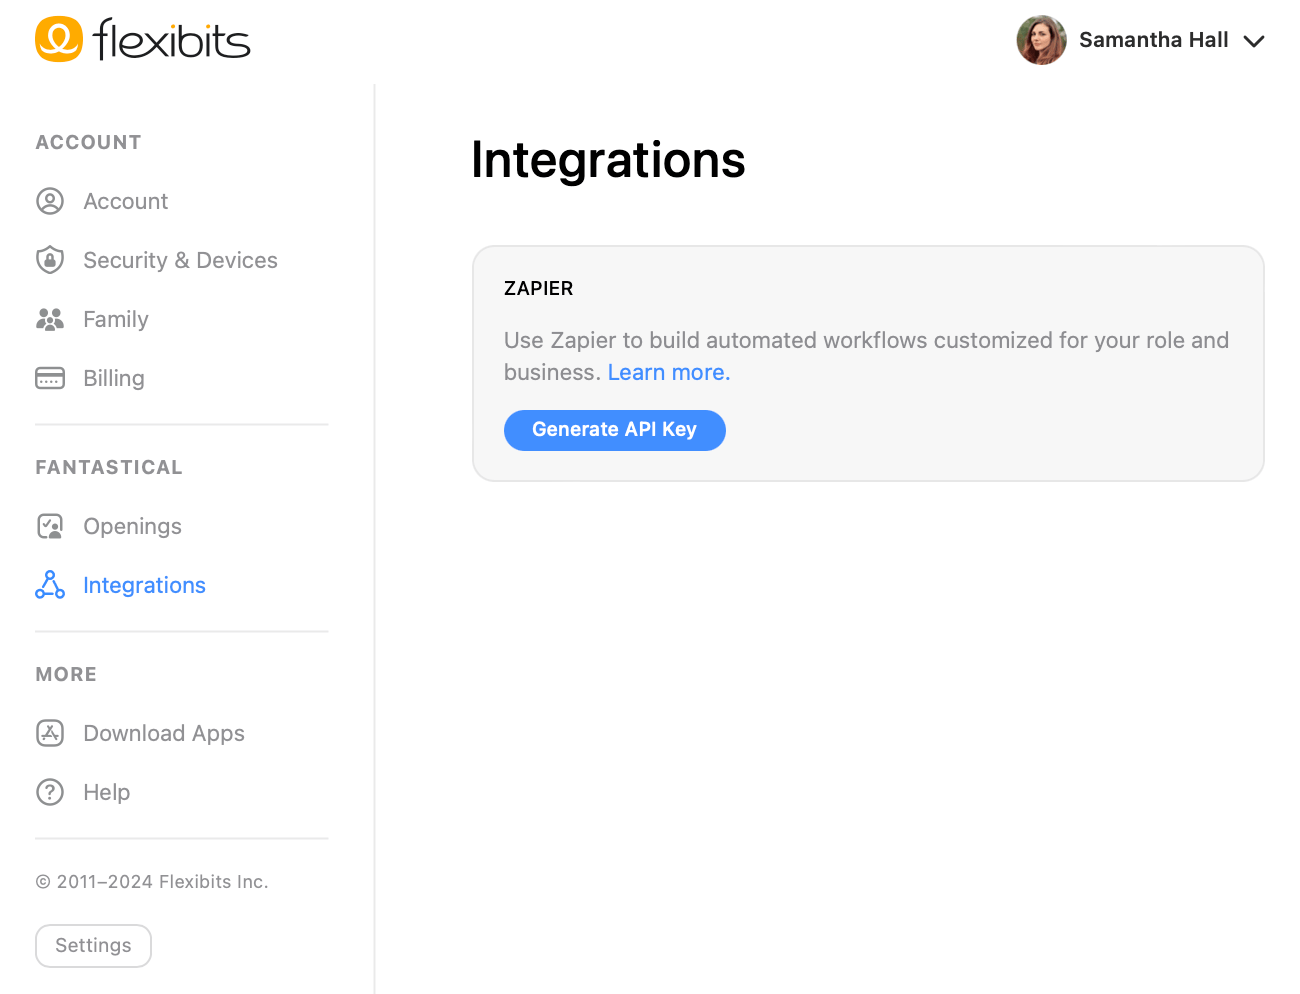
IMPORTANT: If you regenerate or delete your API key in the future, all existing Fantastical Zaps will stop working.
Fantastical Triggers
Each Zap consists of two steps: Triggers and Actions. Fantastical currently offers four triggers when creating a Fantastical Zap.
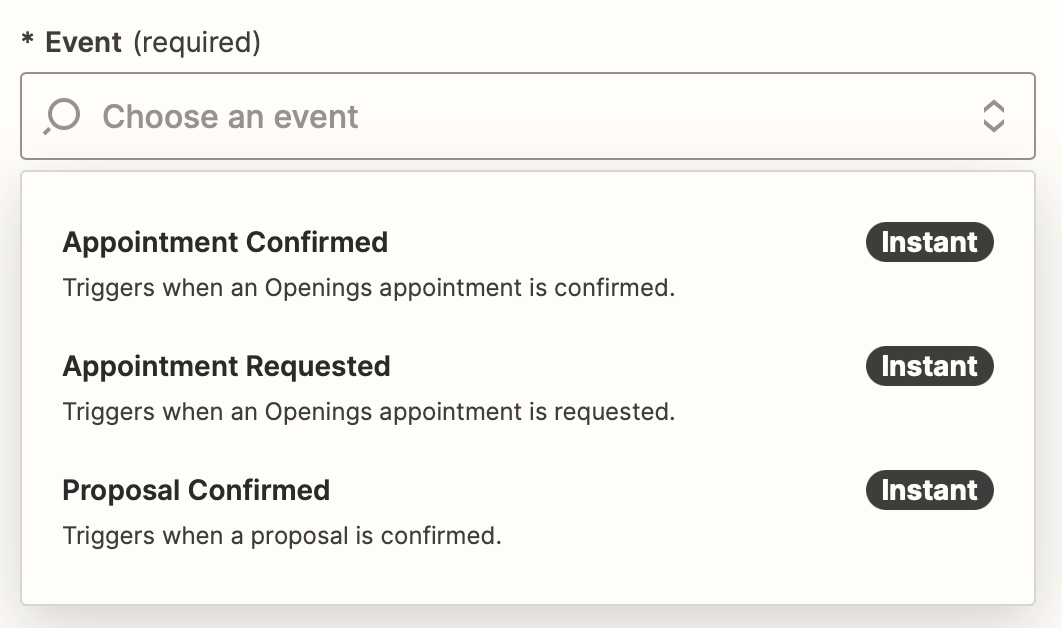
- Appointment Confirmed: This triggers when an Openings appointment is confirmed. For manual confirmations, this is when the owner manually approves the request. For automatic confirmations, this is when the request is approved by Fantastical. If no version of Fantastical is currently running when using automatic confirmation, the Zap will be delayed until Fantastical is opened and the request is approved.
- Appointment Requested: This triggers when someone requests an appointment in Openings. This will trigger immediately for both manual and automatic confirmations in Openings.
- Proposal Confirmed: This triggers when any Proposal is confirmed.
- RSVP Response: This triggers when an RSVP invitee responds.
Creating a Fantastical Zap trigger
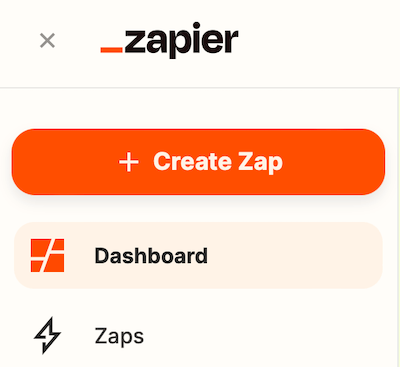
You will create and manage your Fantastical Zaps directly on Zapier's website. To get started, log in to your Zapier account and select the button to + Create, then choose the Zaps option from the drop down menu.
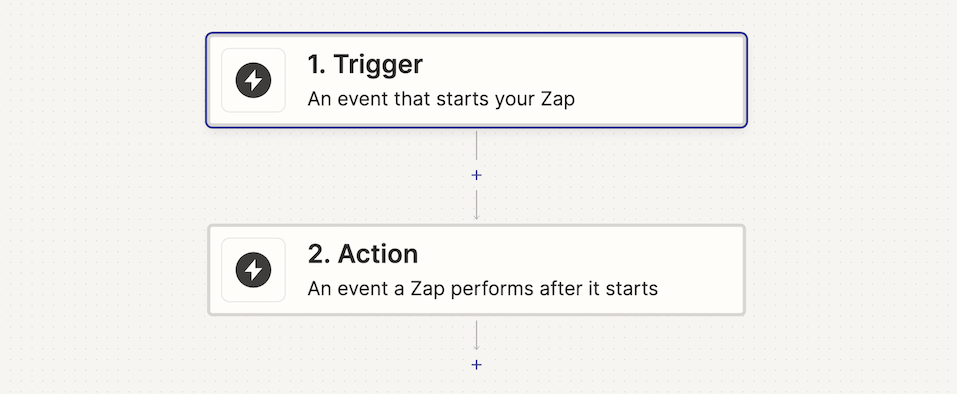
- Select the option Trigger to access the apps that have available triggers.
- Search for Fantastical, and then select it to add it to your Zap.
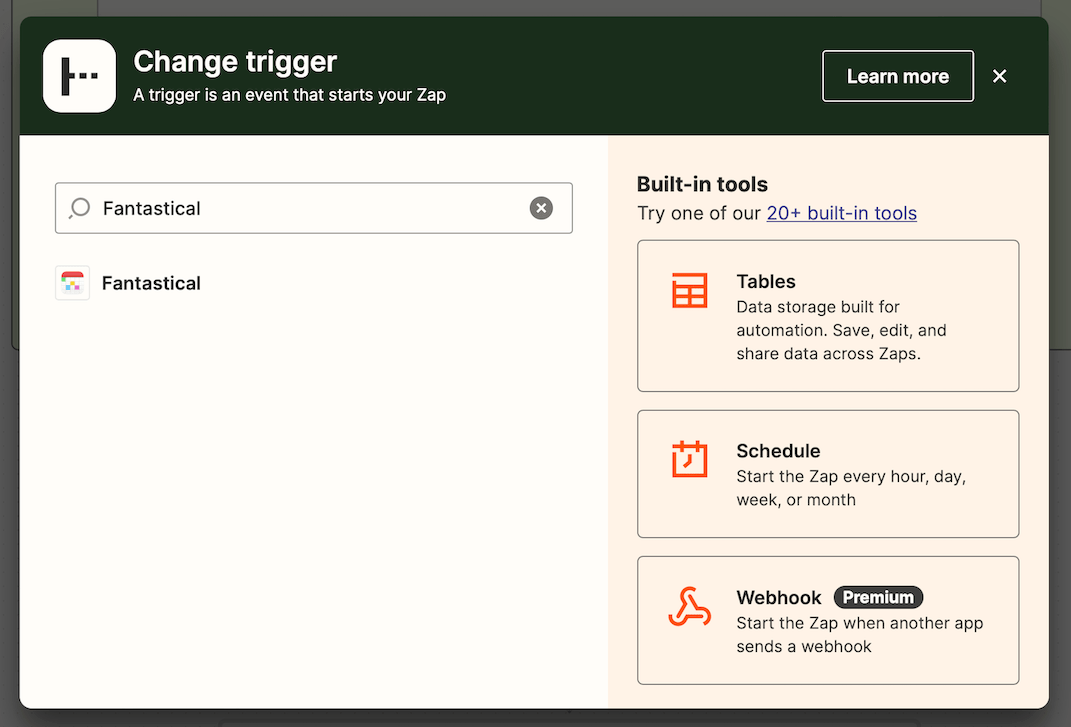
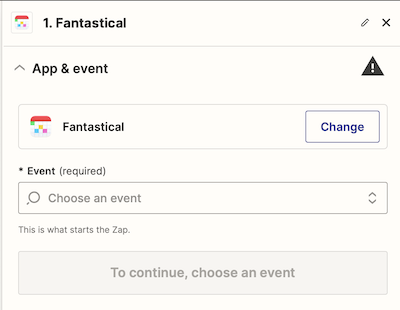
- Choose the event type you want to use from the 4 available options, then connect Fantastical in the Account field by clicking Select, choosing +Connect a new account, and entering the API key you created in your Flexibits Account. Finally, select Continue at the bottom of the screen.
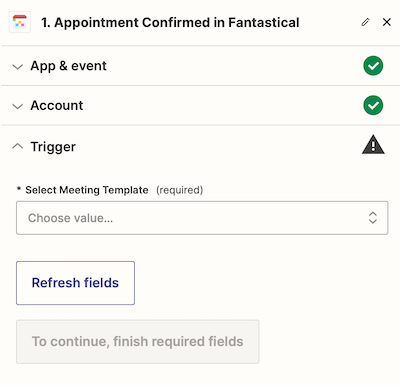
- If you are using an Openings Trigger, or an RSVP trigger, select the Meeting Template or RSVP Invitation you want to use for your Zap. You can choose individual templates/invitations, or you can select the option for All Openings or All Invitations.
Please note: This step will only be available when using Appointment Requested, Appointment Confirmed, or RSVP Response.
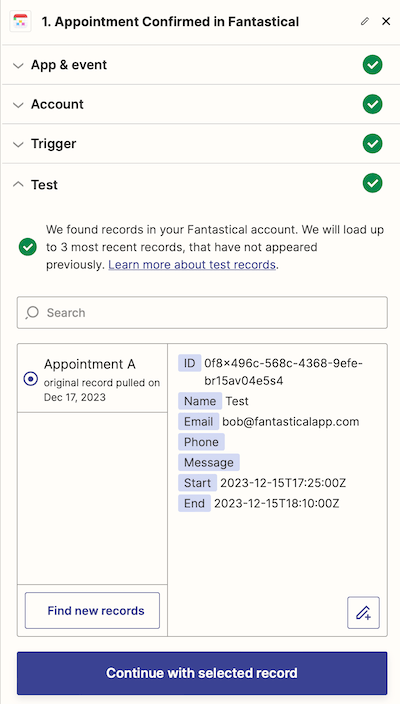
- Test your trigger. Zapier will check your Flexibits Account and present a list of your latest appointments so that you can select one as a template.
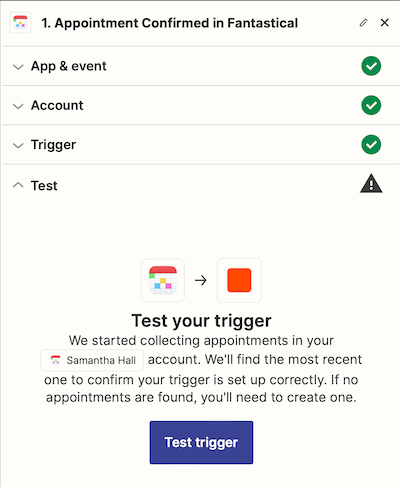
- If appointments are found, you will receive a list of those appointments and can then choose one example for your template. Clicking on a specific appointment will show the details for that option.
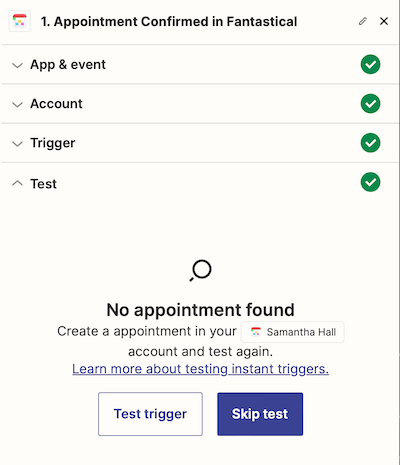
- If appointments are not found you can create an appointment or choose Skip Test.
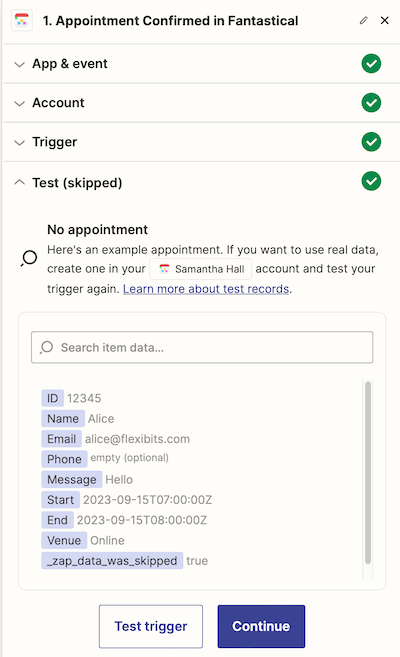
- If you skip the test, you will be presented with an example appointment and the option to continue creating your Zap.
This completes the trigger section for your Zap. You will need to continue to the second step of adding an action to your Zap before it can be used. Fantastical currently does not offer any actions, so you will not have that as an option when creating your Zap action.


