
Invitations
Fantastical includes a number of tools to make it easy to manage invitations to and from other people.
Responding to invitations
When you receive a new invitation you'll see an inbox icon appear at the top of the window. Click this icon to view all your pending invitations and choose to set your status to Accept, Decline, or Maybe by clicking the corresponding buttons. If you have multiple pending invitations, you can click the ellipses in the top right to quickly take action on all invitations with one click.
Click and hold on the Accept, Decline, or Maybe buttons to respond to an Exchange invitation without sending a message to the sender.
Inviting people to events
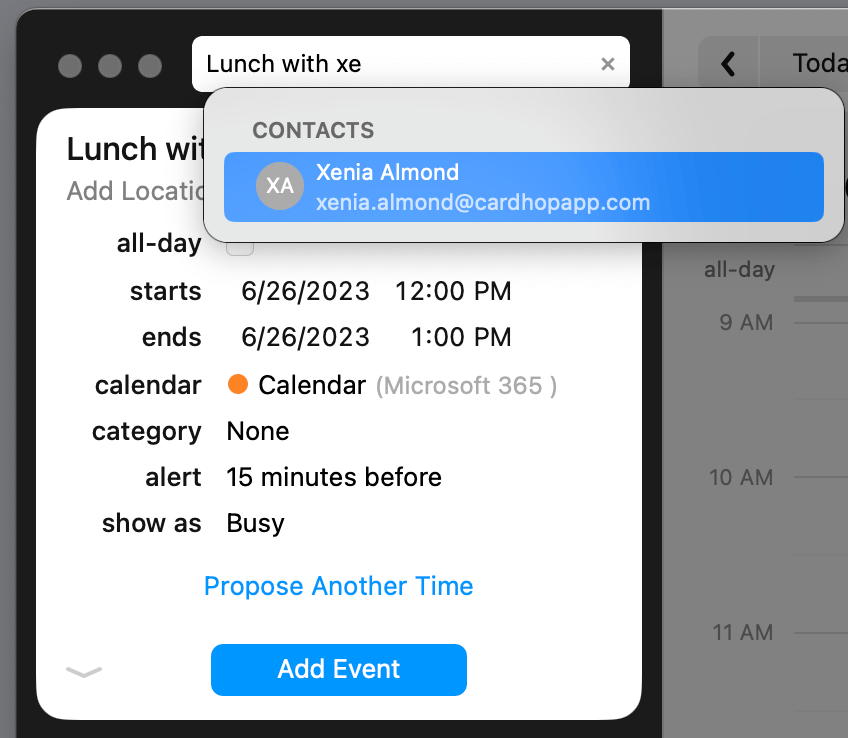
Fantastical will search the system Contacts when it looks like you're trying to invite someone to an event. For example, typing "Lunch with Beth tomorrow" will allow you to quickly invite Beth to the event.
Fantastical will also search for contacts stored on your Google or Exchange server, providing you've added at least one of those accounts to Settings > Accounts, and that the contacts you want to invite belong to the same account that you are creating the current event on.
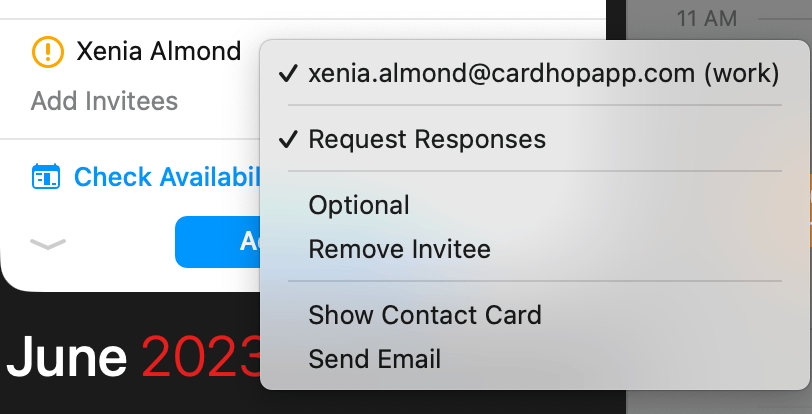
If you're creating an invitation on an Exchange calendar, you can choose whether the invitee needs to send a response or not. In the event details, click the invitee's name to choose whether to request a response or not.
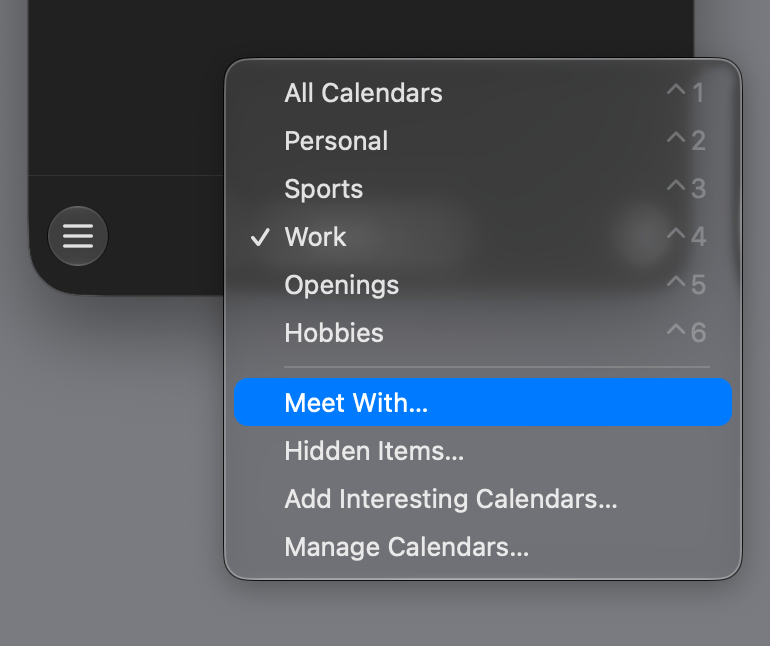
Meet With
Meet With allows you to quickly check the schedules of other people in your organization, making it even easier to decide when to meet with others.
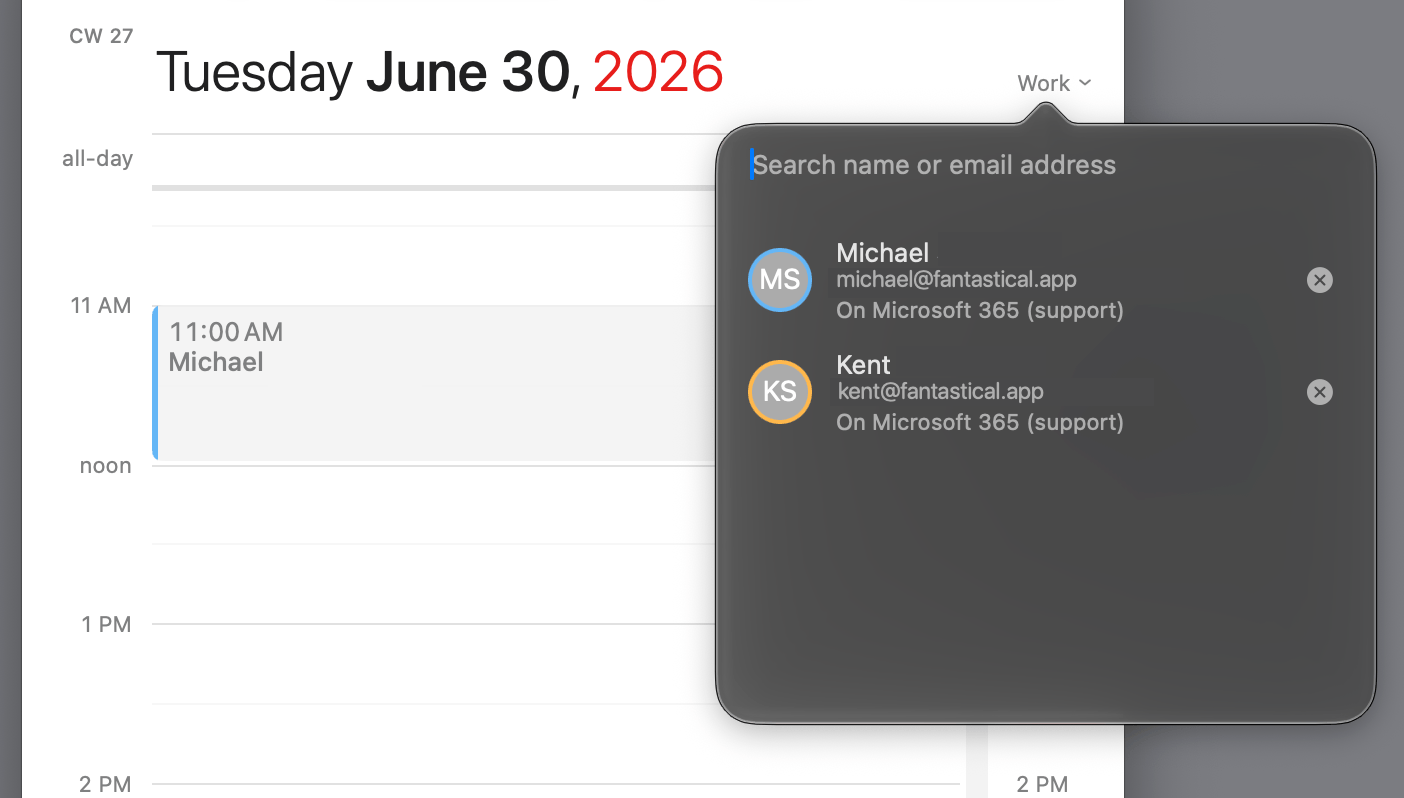
To access the Meet With feature, click the calendar set name in Fantastical and choose Meet With..., or simply start creating an event and add an invitee.
Search for the name or email address of your invitee, and Fantastical will determine if you have access to check their availability. If so, you will see their events appear temporarily on your current calendar set so you can find a time that works best for everyone.
Checking contact availability
Video: Invitee and Room Availability
After adding invitees to an event, a check or cross icon will appear next to their name indicating each invitee's availability at the time of your event. A yellow exclamation mark icon indicates that your contact is not available on the server, and thus availability is unable to work. Please note that iCloud does not support availability.
In addition to using the check and cross icons for a quick indication of your contacts' availability, a more detailed availability view can be displayed too. Click Check Availability to open a schedule planner and observe your contacts' availability throughout the day (click the button to the right of the date to open this view in a separate window). In the bottom-left of the availability planner, you can use the pull-down menu to toggle the timeline to either display "All Day" or "Work Hours" (work hours are configured in Settings > General > Day starts/ends at). The Next Available Time command is the quickest and easiest way to schedule an event, with Fantastical instantly performing the hard work of finding a time when you and your invitees are all free. You can also configure a time manually, and if one of your contacts has an event booked for the time of your event it'll turn red to indicate a conflict.
The availability window can also be shown from the Window menu after selecting an existing event. This allows you to see if your invitees' availability has changed, or to quickly reschedule an event to another suitable time.

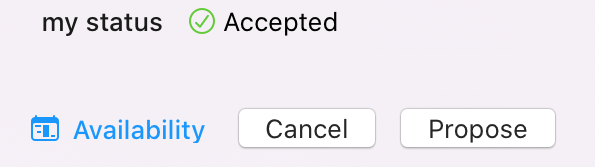
Propose new time
If you receive an invitation with a time that's not suitable, locate the invitation on your calendar and double-click it to see the Propose New Time option. Click this option to choose an alternative time and send it to the organizer to review.
If you're using Exchange, then the new time proposal will be sent automatically through your Exchange email. If you're using a CalDAV-based calendar service instead, such as iCloud or Google, then Fantastical will create a special email that contains an .ics file of the new time proposal and any comments you added to the proposal.
Google Meet, Microsoft Teams, Zoom, and Webex conferences
Pre-existing Google Meet links created on Google Calendar's website will be visible in an event's details. Click the link to join the call. You will also see any pre-existing Microsoft Teams links that have been created on your Microsoft accounts. With Fantastical 4.1.10 and above, professional/school Microsoft 365 accounts allow you to add a Team link to events on other account types in Fantastical. Please note: This option is not available for personal Microsoft 365 accounts.
Zoom and Webex meetings are also available in Fantastical. Add a Zoom or Webex account by going to Fantastical's Settings > Accounts. You'll then see a "Zoom Meeting" or "Webex Meeting" option appear in your events. Use this option to create meetings directly in Fantastical and the meeting will be set up and sent to your invitees.